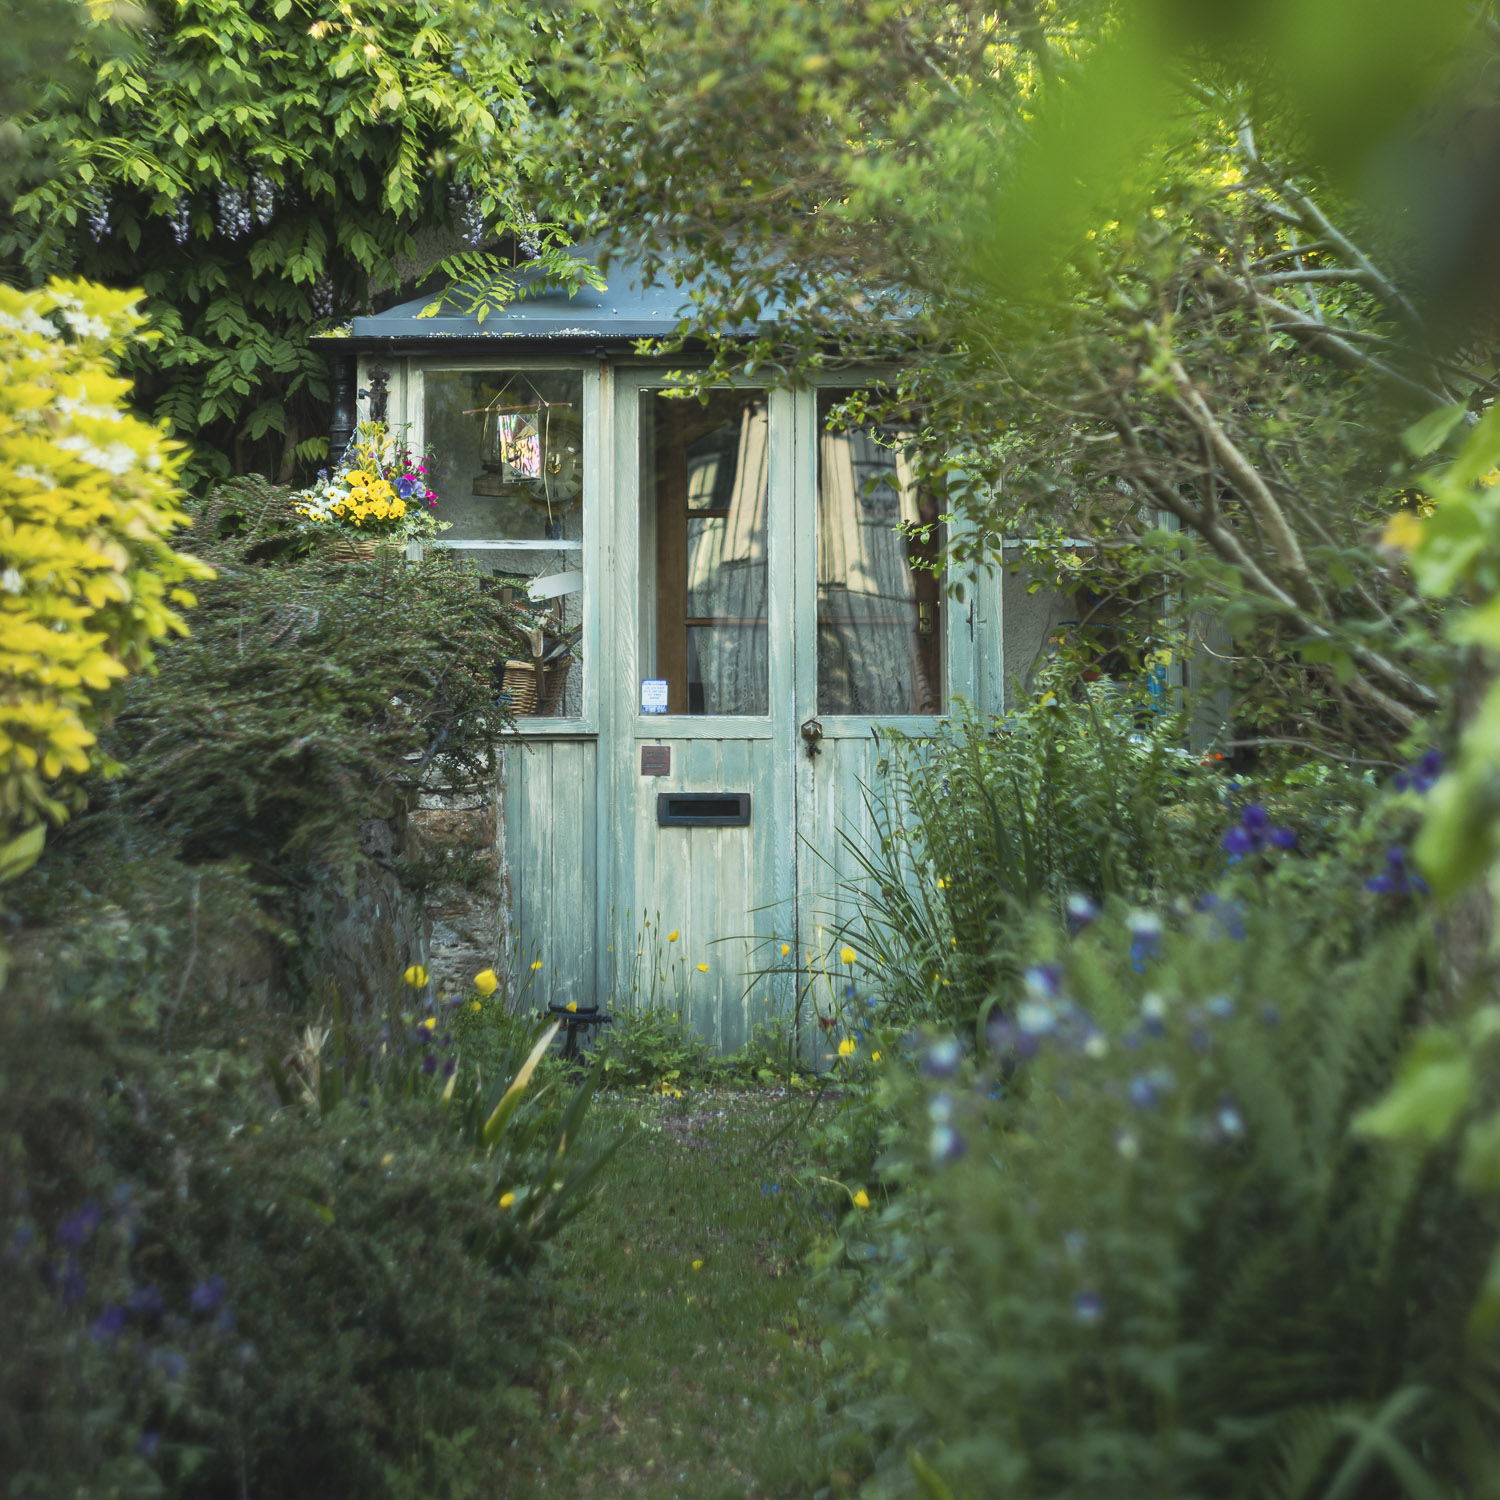
You’re not alone if unsolicited photography advice has left you feeling confused, frustrated, or like you were somehow “doing it wrong.” Most of us start out trusting the loudest voice in the room: a YouTuber, a well-meaning friend, a camera club regular, a stranger who corners you mid-shoot, and we assume they must know better. Then you try the tip, and the results are… awful. Blown highlights, squinty subjects, muddy shadows, missed moments, photos that don’t look like what you saw or felt. And the worst part isn’t even the bad shot. It’s that creeping doubt afterwards: Maybe I’m not cut out for this. Maybe I just don’t get it.
Here’s the truth: a lot of popular photography advice is oversimplified, outdated, or delivered like a hard rule when it’s really just someone’s personal preference. Context matters. Your camera matters. The light in front of you matters. The kind of work you want to make matters. So if you’ve ever felt like you were collecting “rules” but not improving, it’s not because you’re failing, it’s because some of the advice you were handed was never designed for real-world picture-taking in the first place.
Let’s do a reality check. Here’s a list of the most common bits of photography advice I heard over the years and that are flat-out annoying, misleading, or simply wrong. This is not to shame anyone who repeats them, but to help you stop second-guessing yourself and start trusting what actually works.
Think of it as clearing the noise, so you can focus on the part that matters most: taking photos you love.
1. Exposure and camera settings myths
“Never take your ISO above 800/1000”
- What this advice means: “Don’t turn up the ISO number on your camera. Keep it low.”
- Where it comes from: Older digital cameras (especially small sensors) produced very grainy images fast at high ISO, so teachers warned people off it. That warning got repeated for years.
- What’s right about it: Lower ISO does reduce noise. On older camera bodies, ISO 800 could genuinely wreck image quality.
- How to deal with it now: Treat ISO as a trade-off, not a limit. Raise it when you need a faster shutter speed or a brighter exposure. A slightly noisy photo is almost always better than a blurry or underexposed one.
The image quality with higher ISO numbers really depends on your camera – the model and age of it. I shoot with a Canon R3 and that gives me a huge range of ISO at superb image quality. However, if you shoot with an entry-level camera, your images might be “noisier” at higher ISO numbers. You can only try things out and see how far you can “push” your ISO numbers and still get acceptable results.
There’s also software you can use, such as Adobe Lightroom’s inbuilt Noise reduction or the Topaz AI noise reduction option which produces amazing results.
If it means you get the image, but it’s a bit noisier, then that’s totally OK.
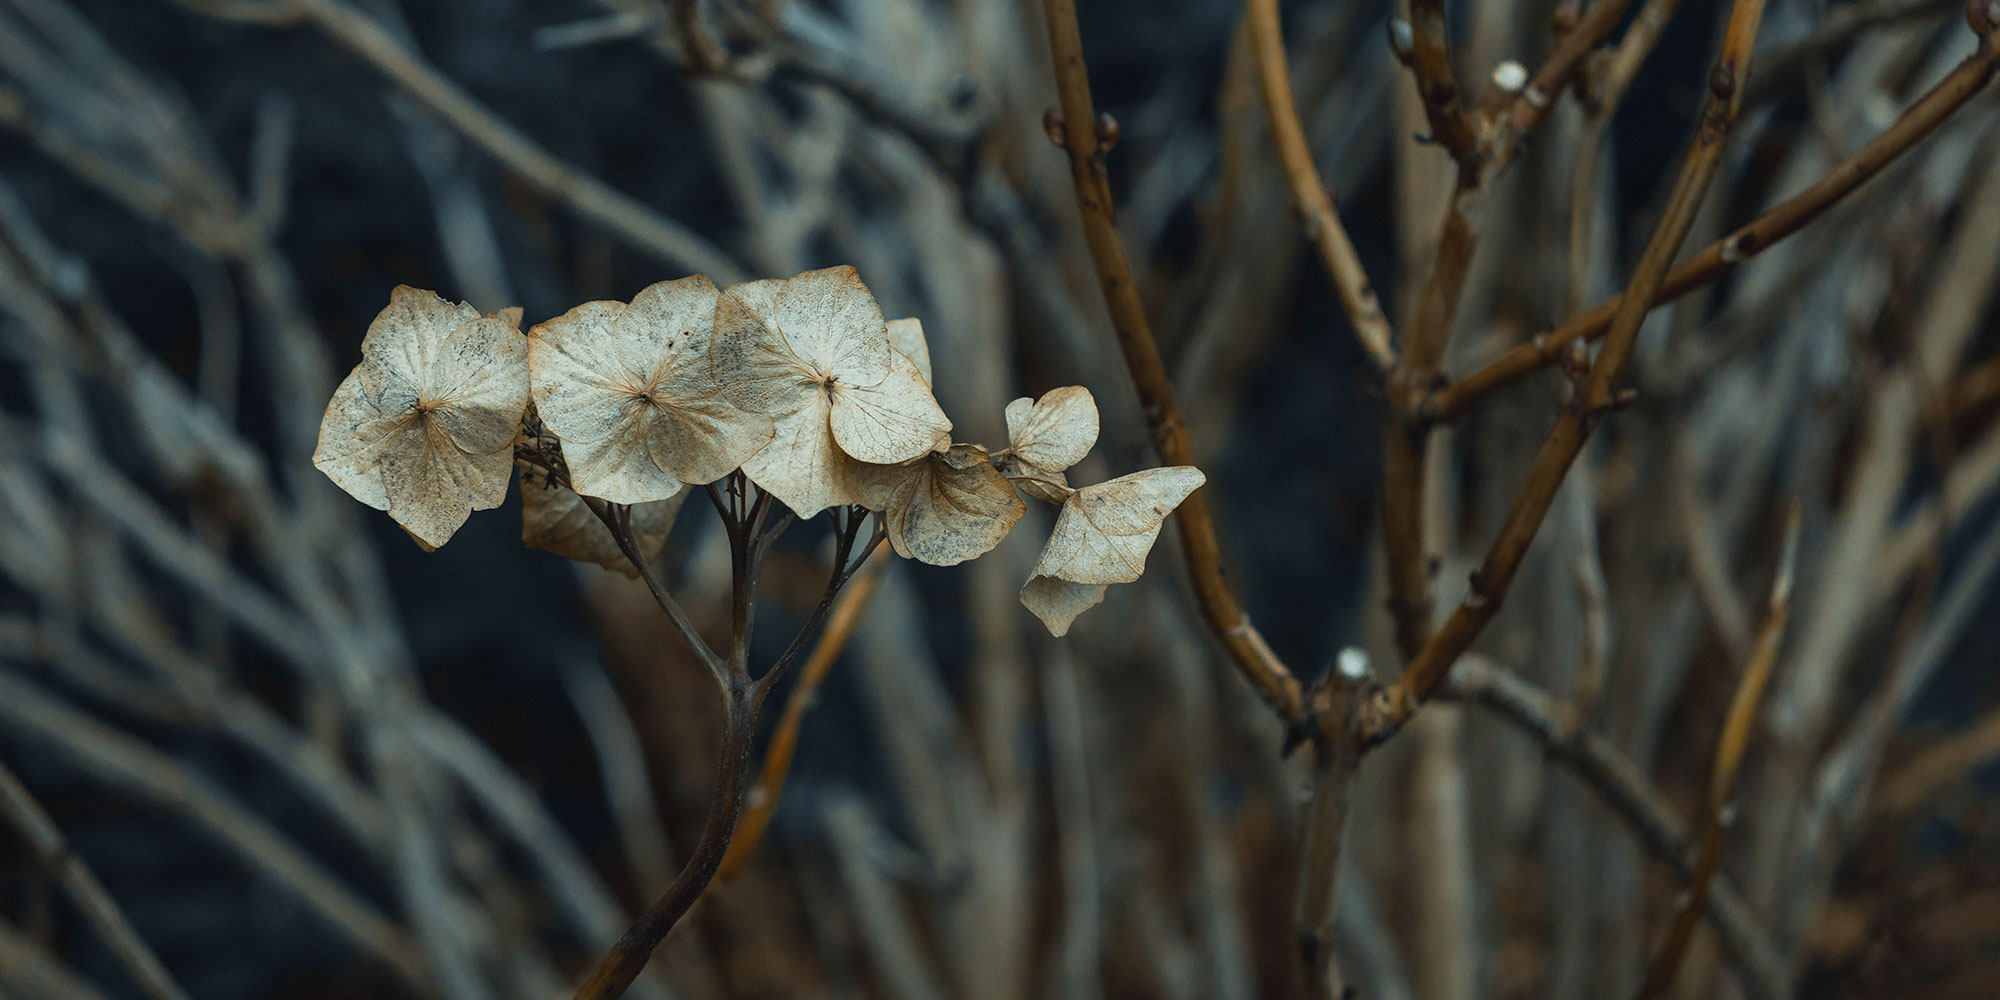
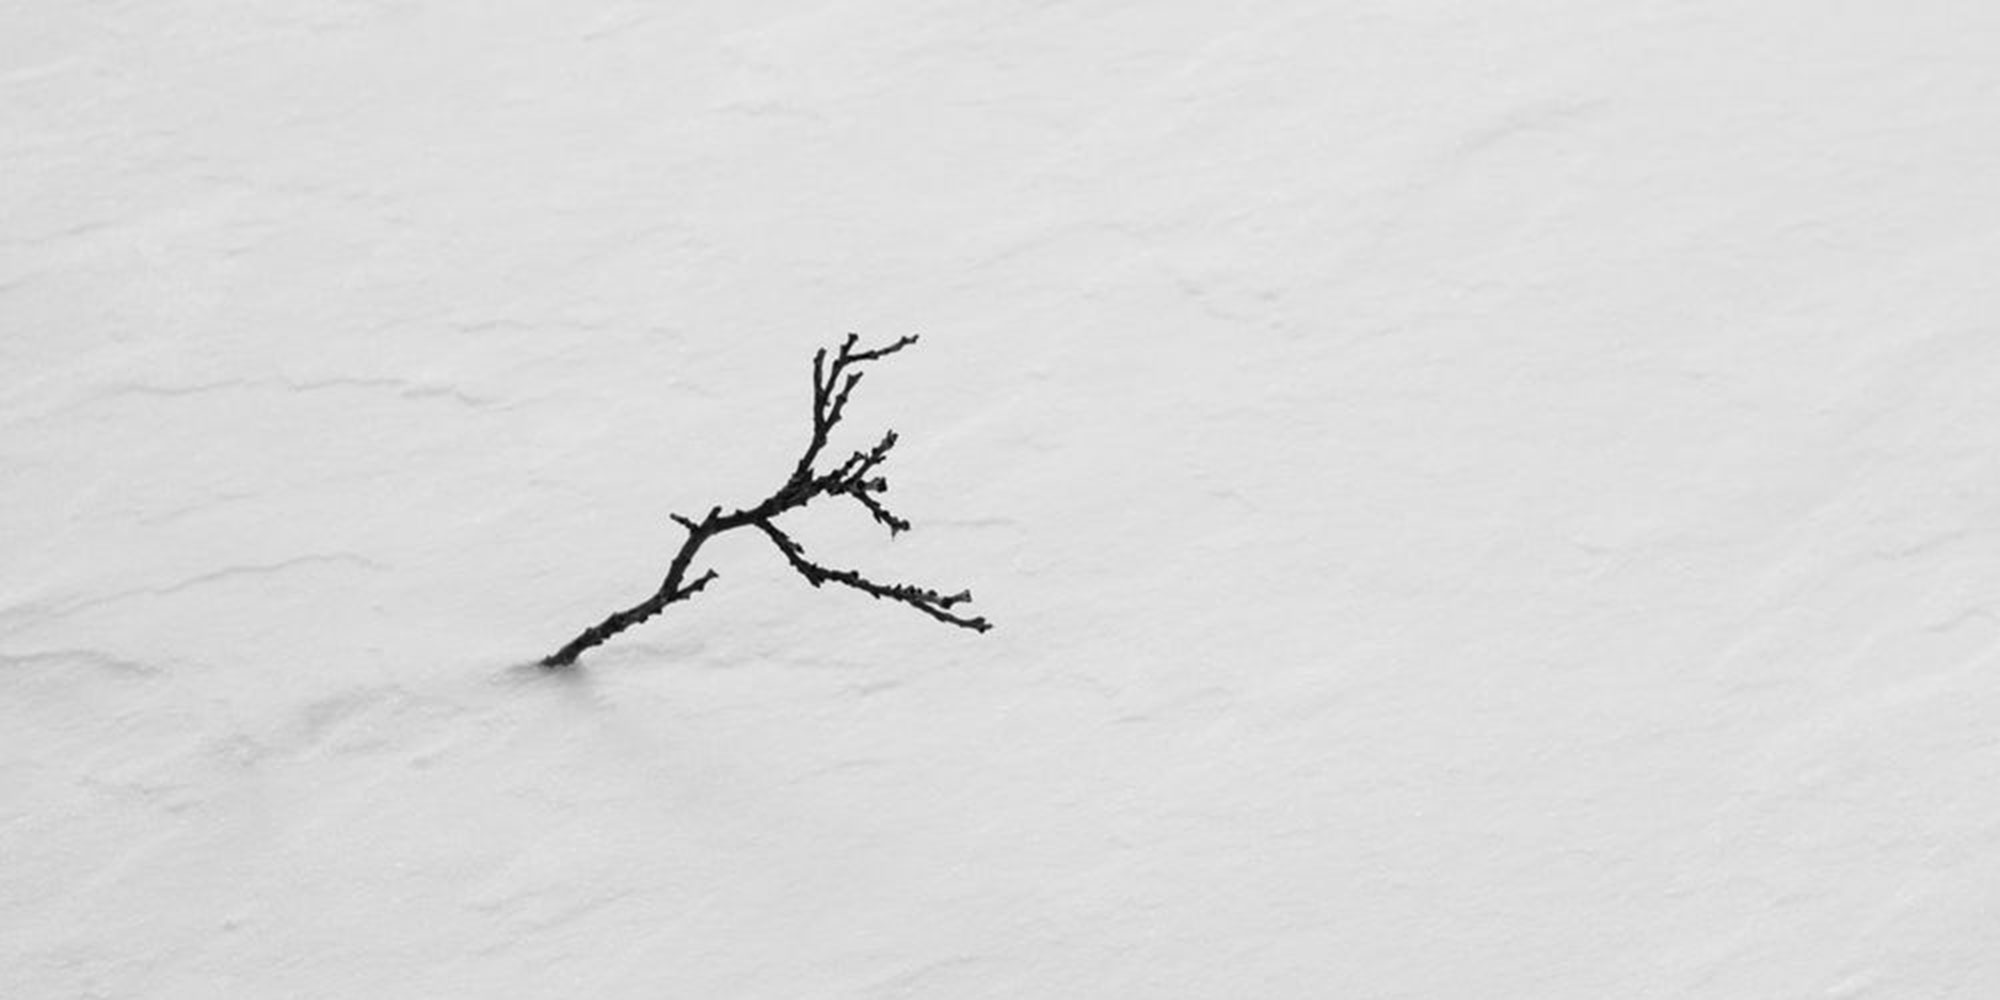
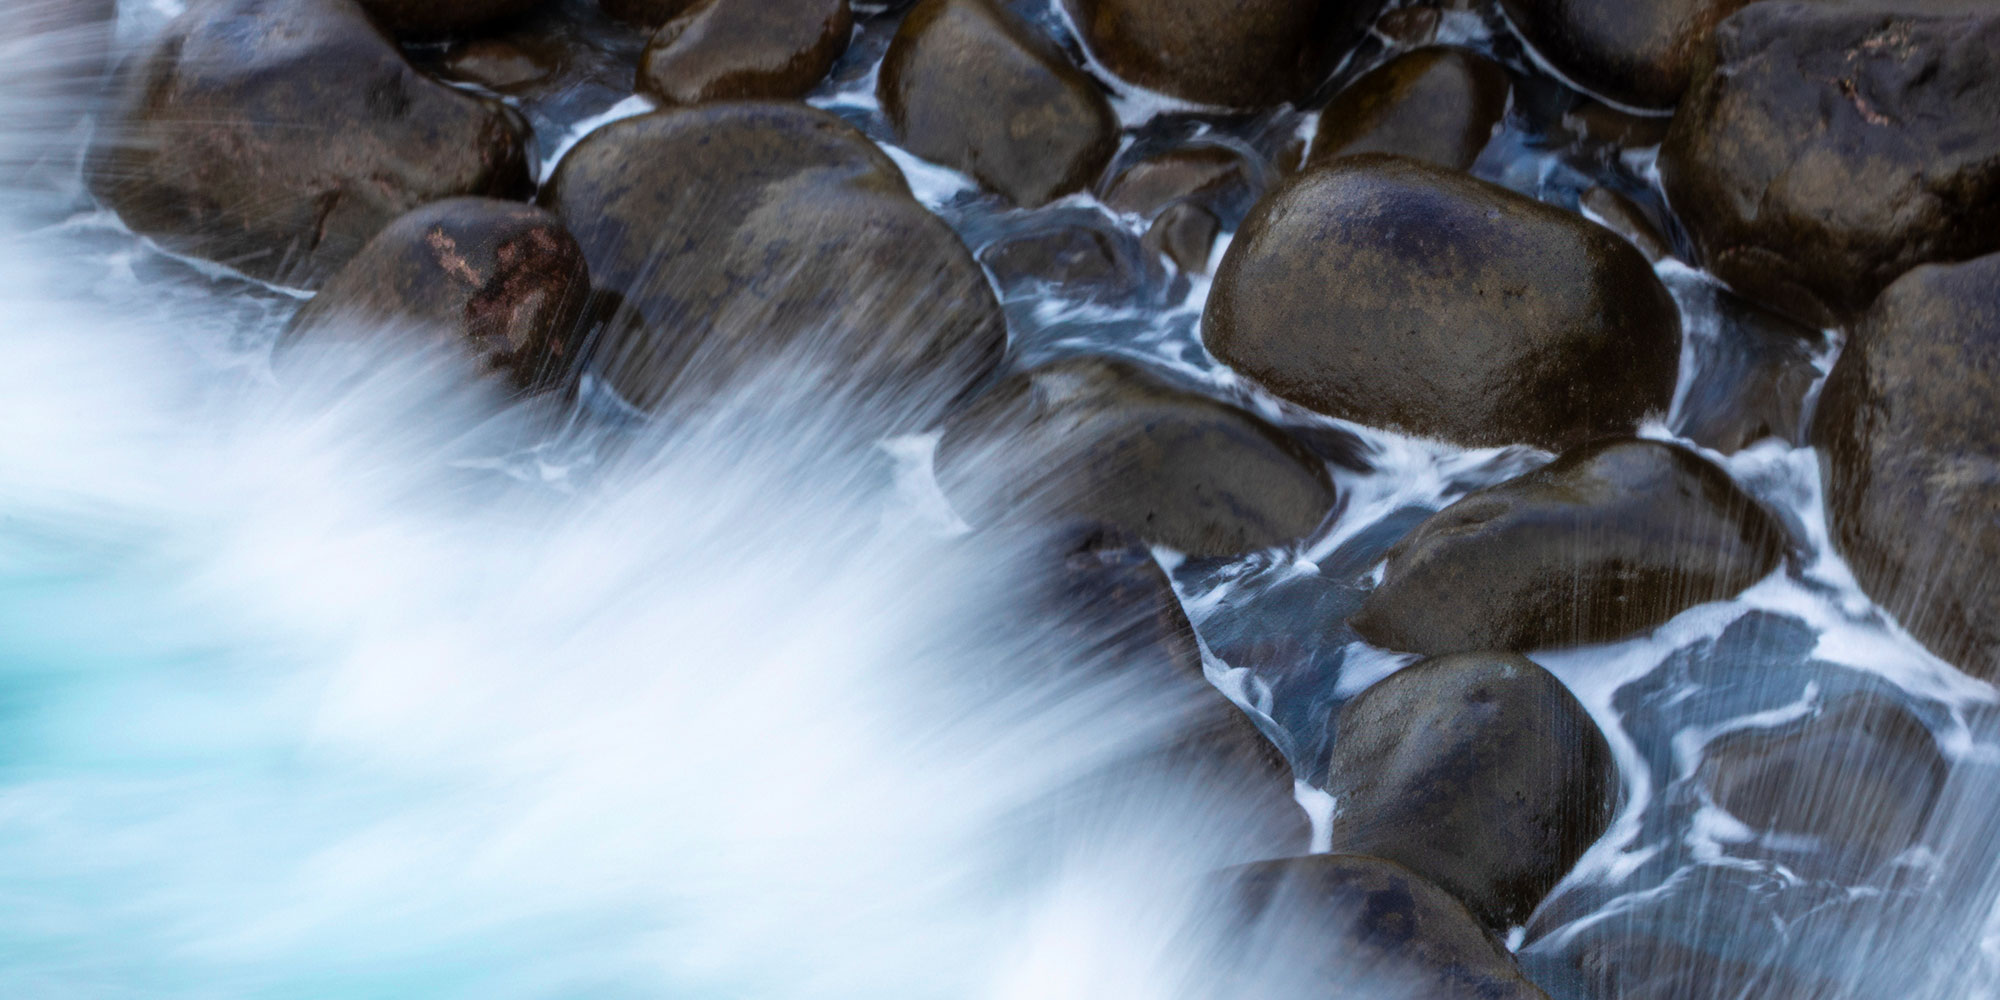
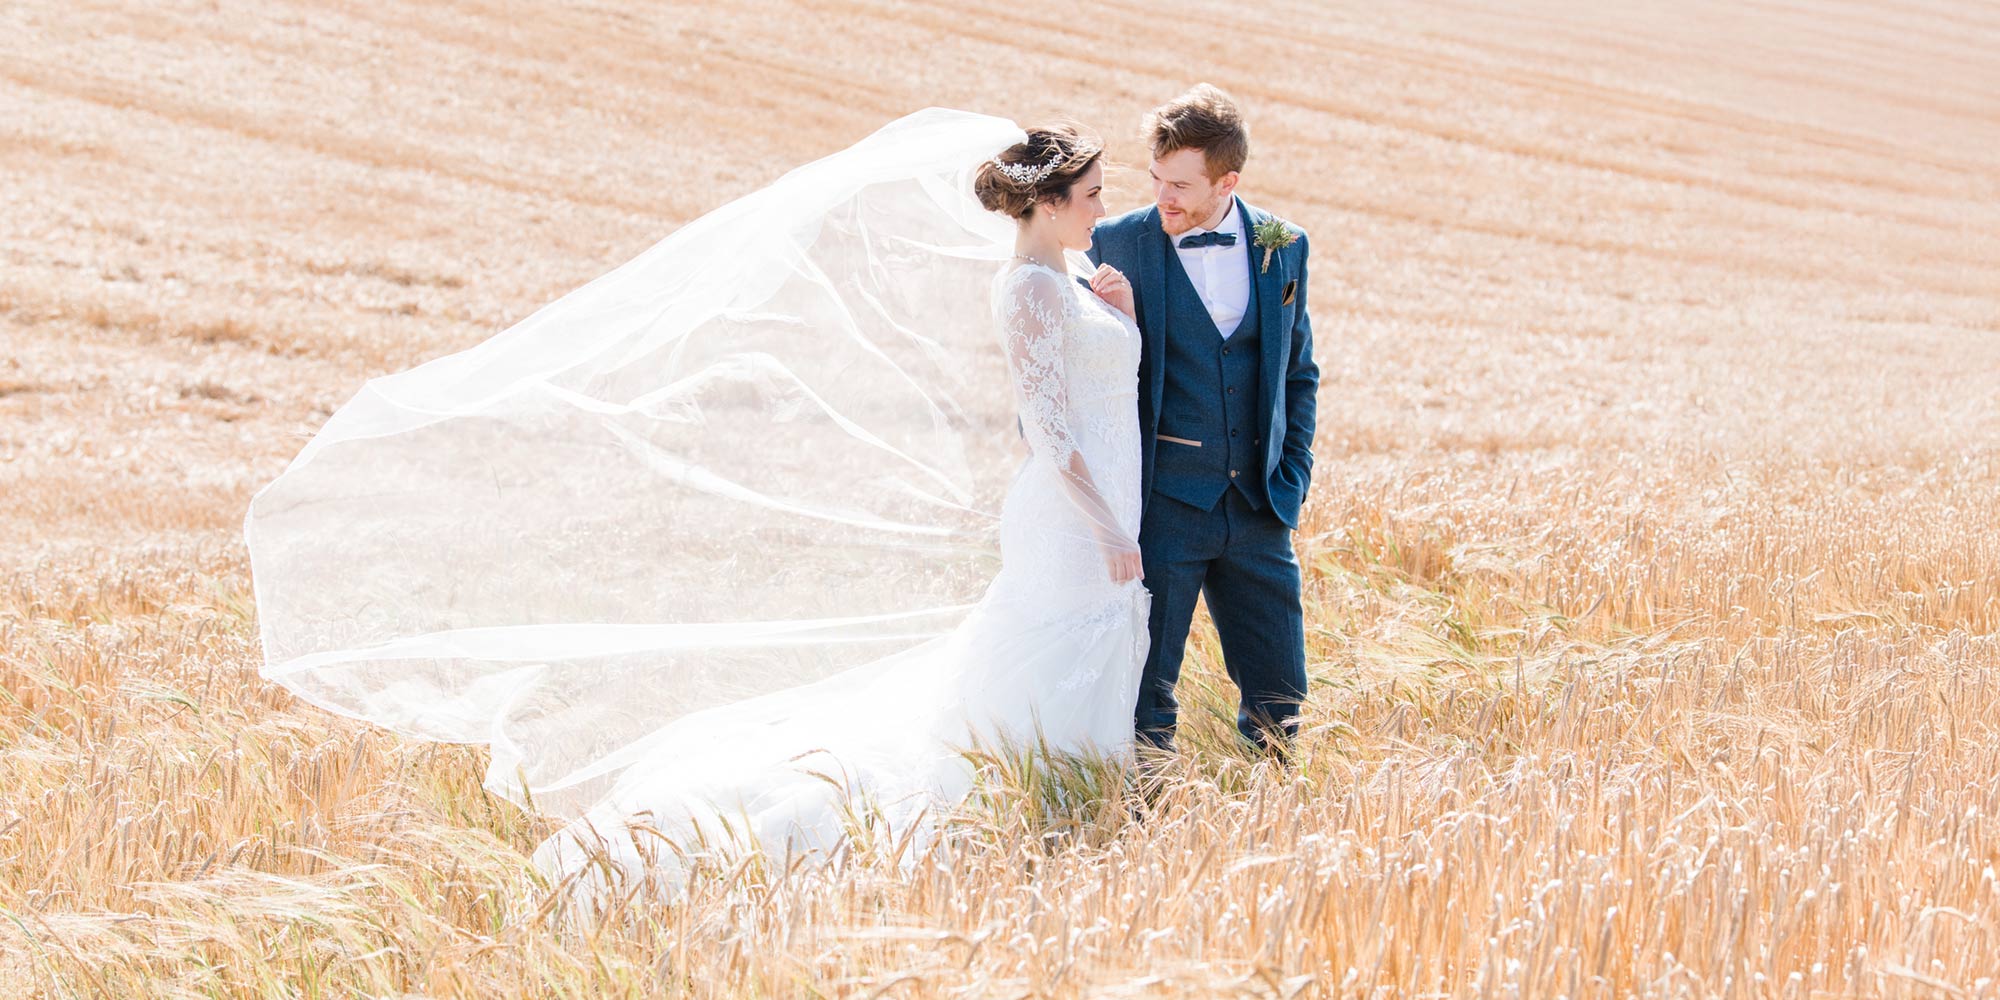
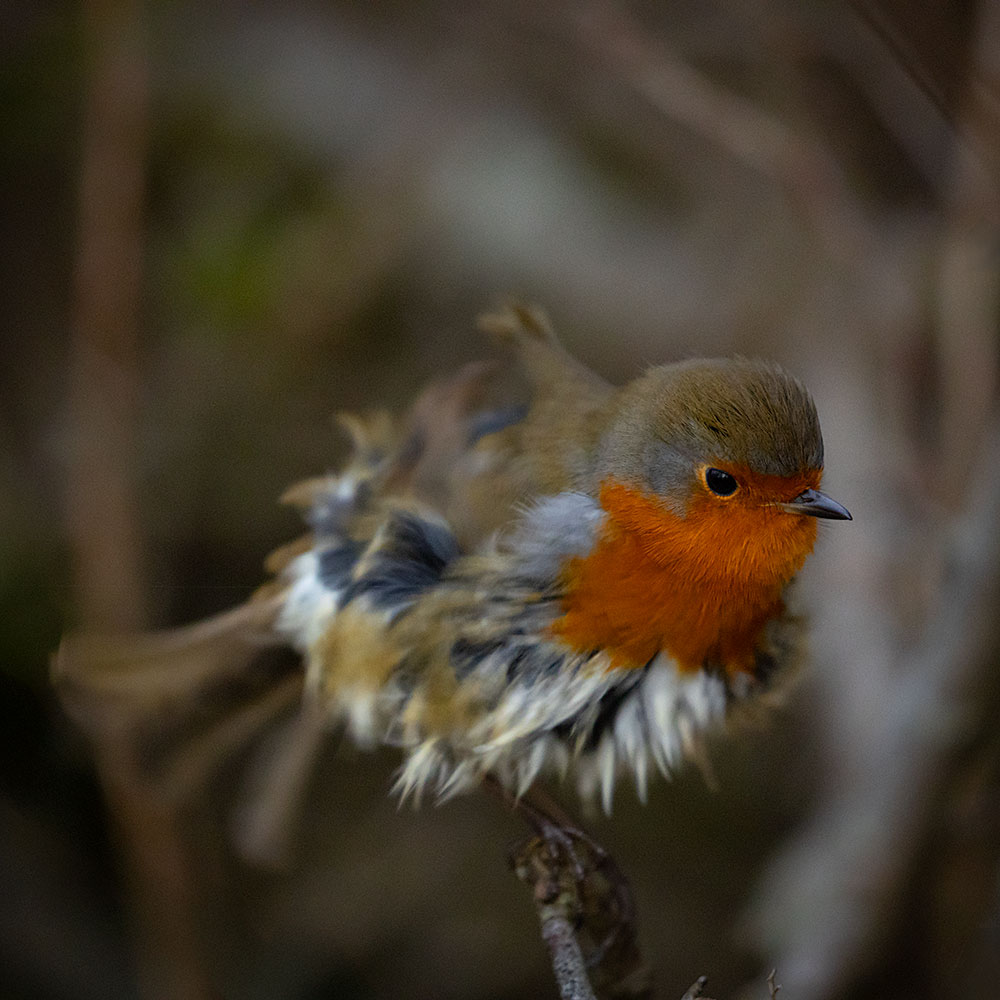
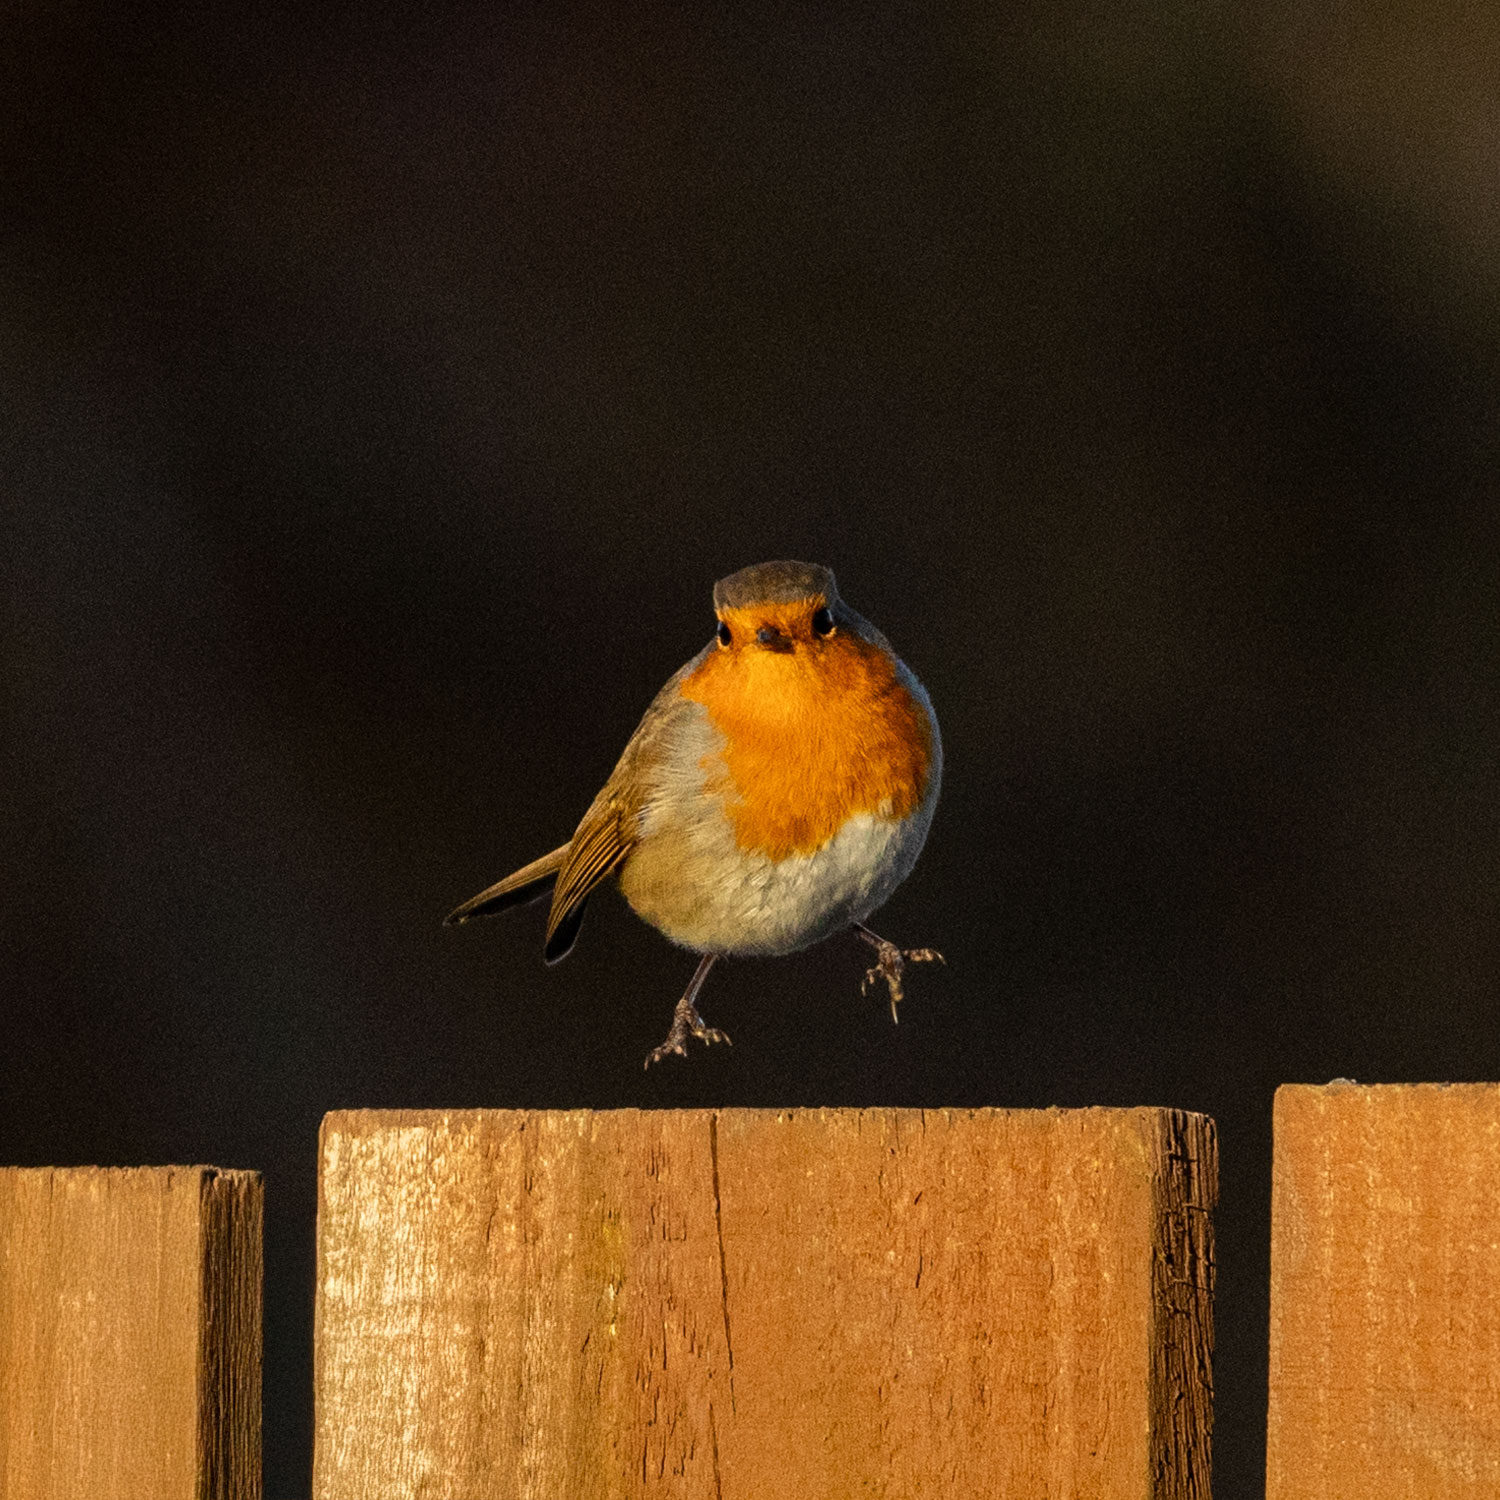
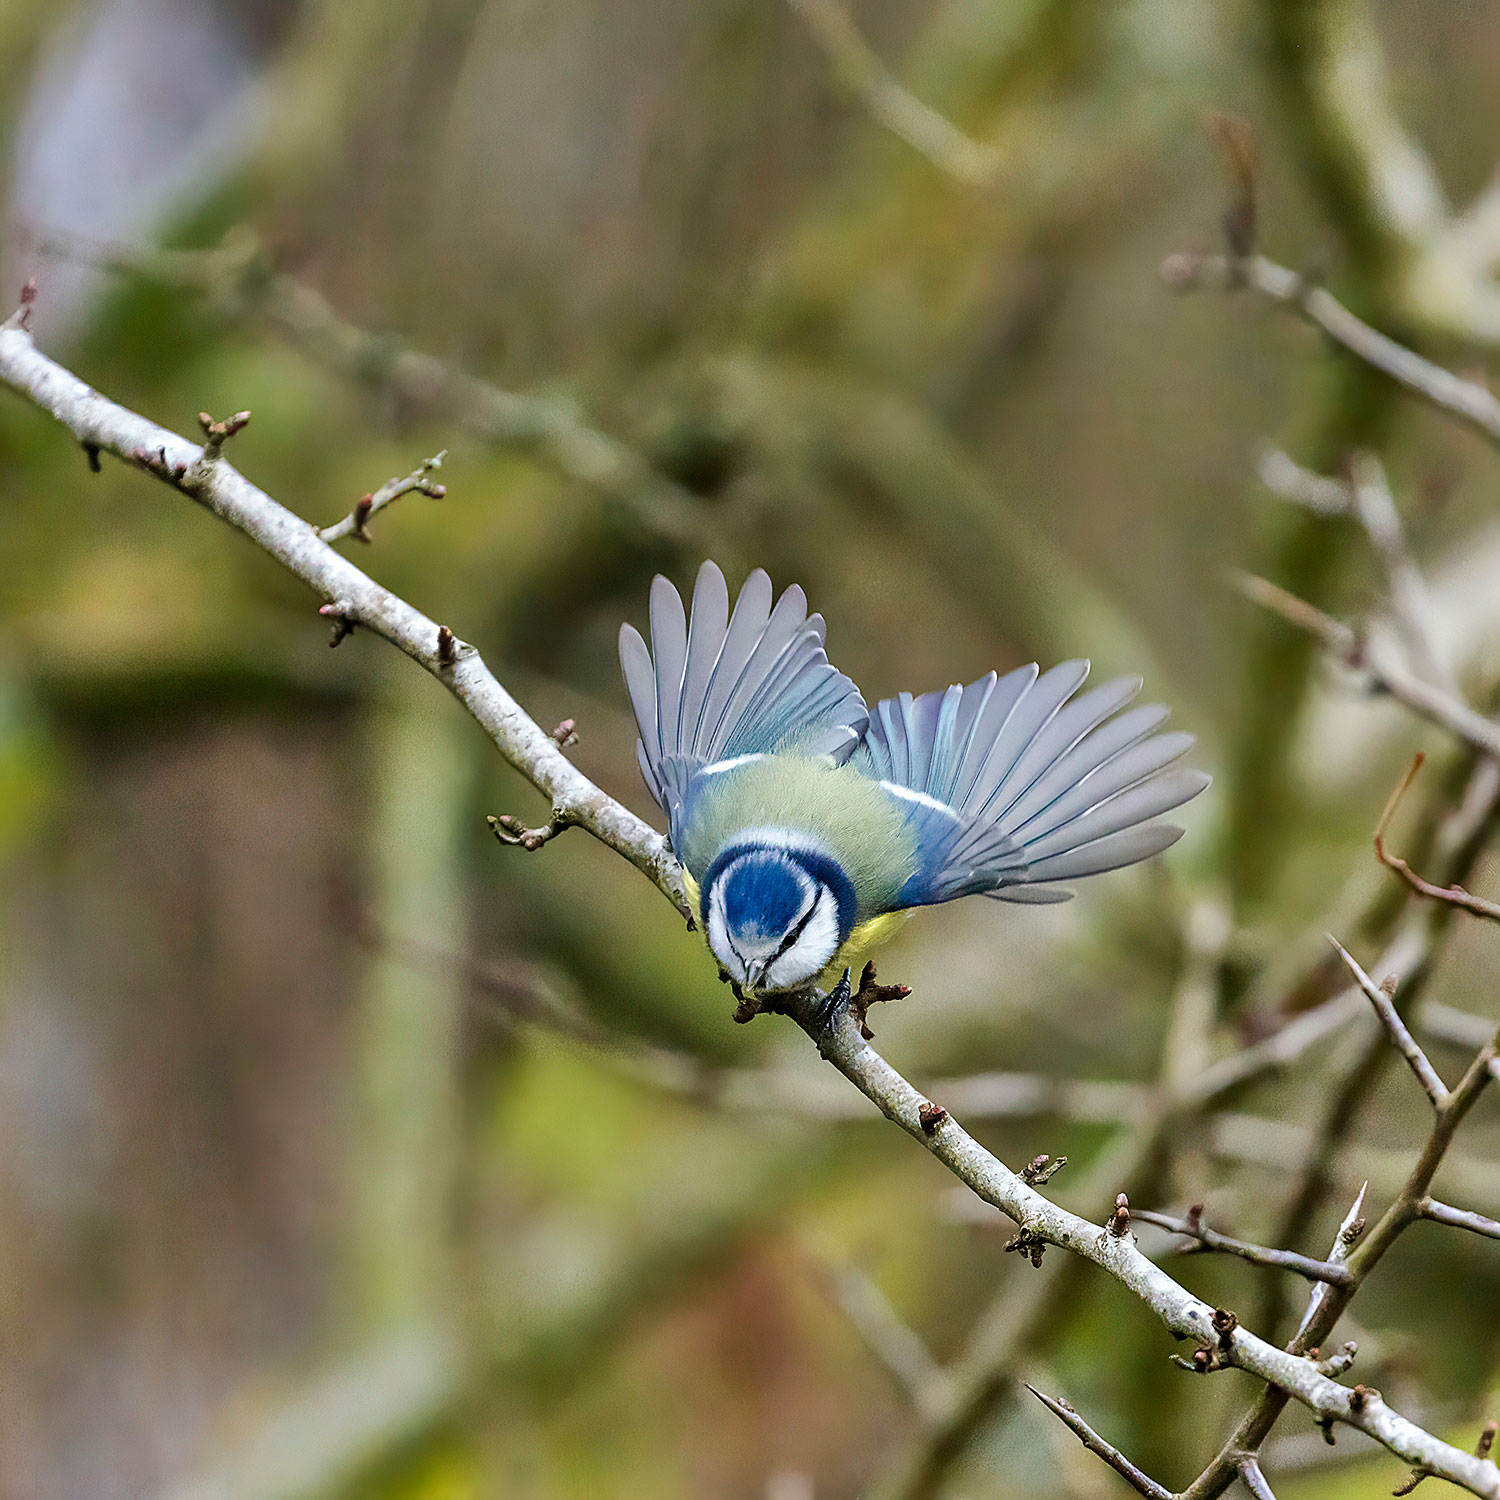
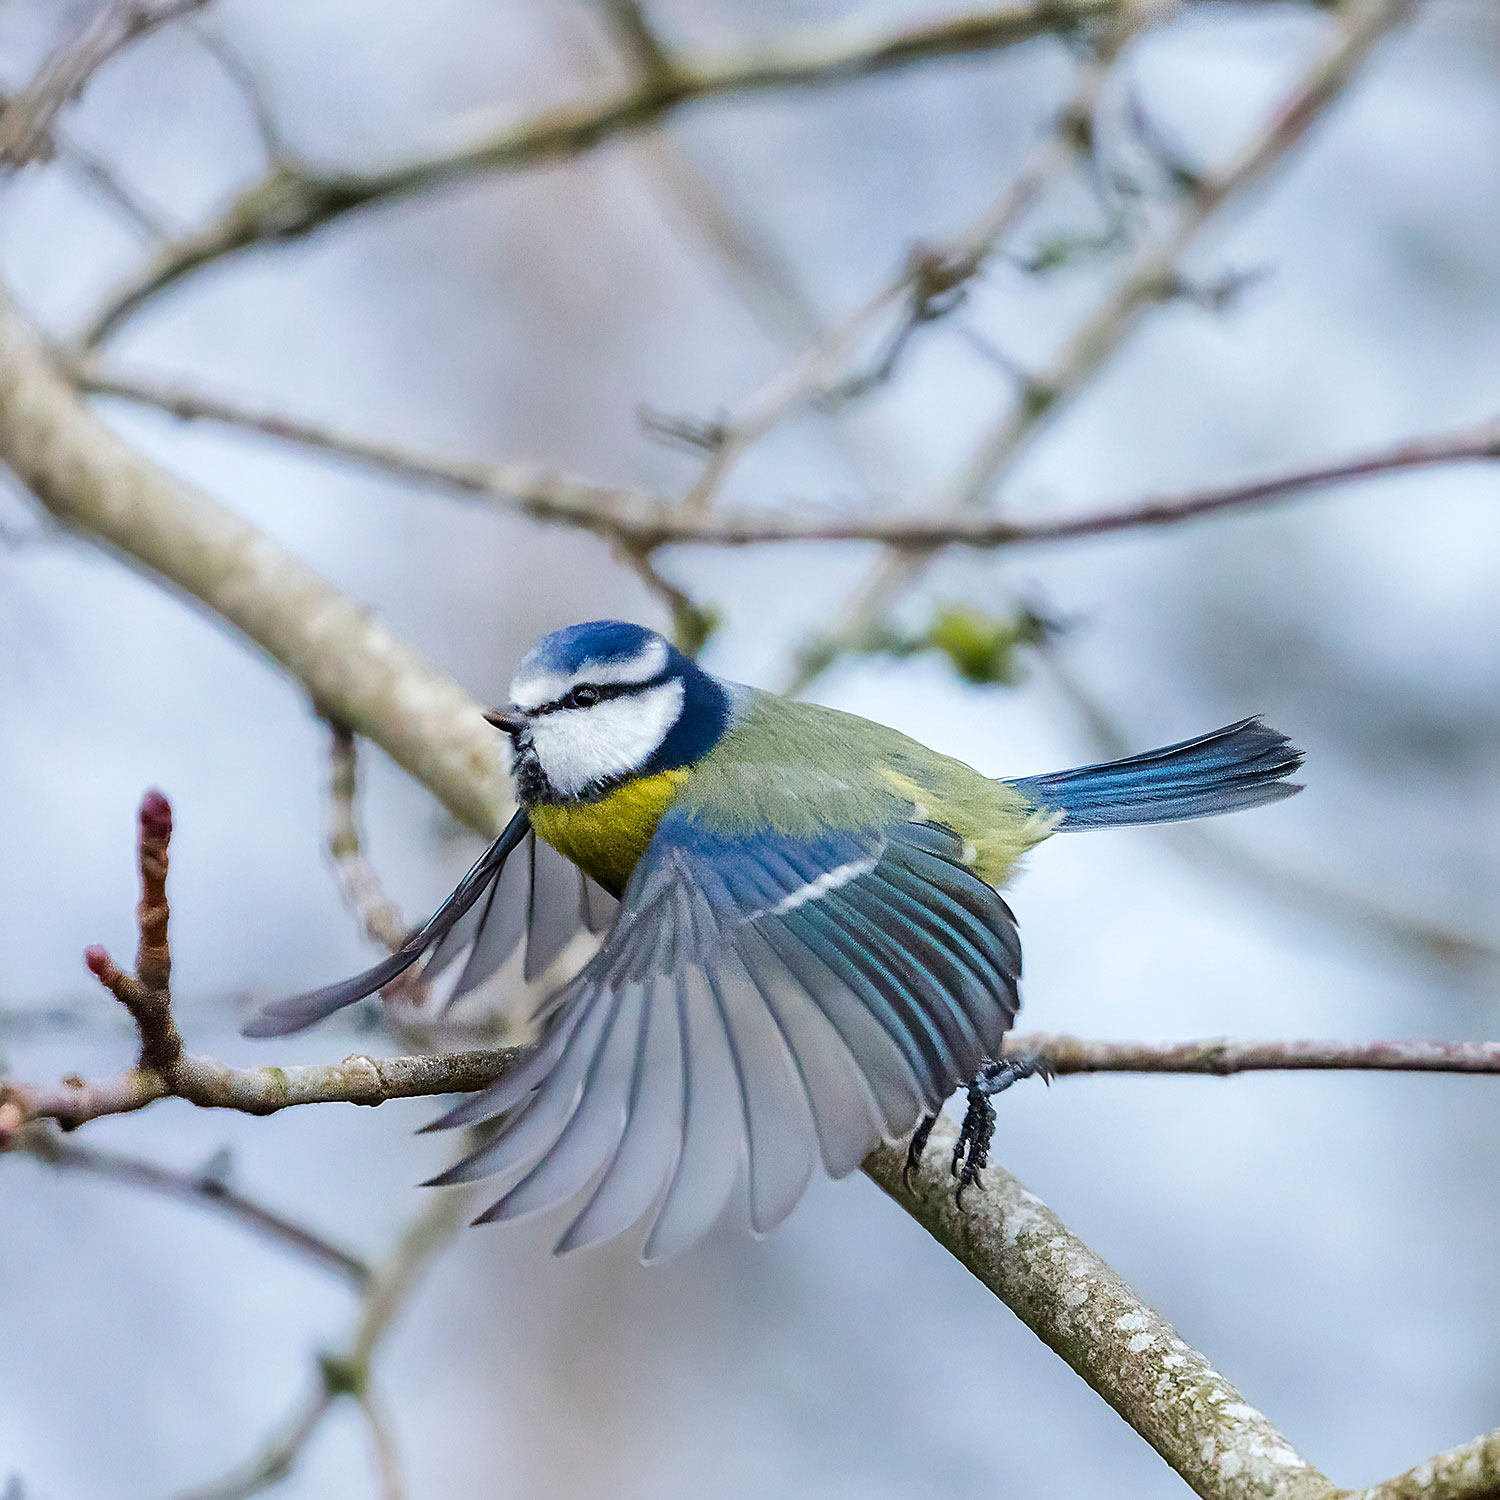
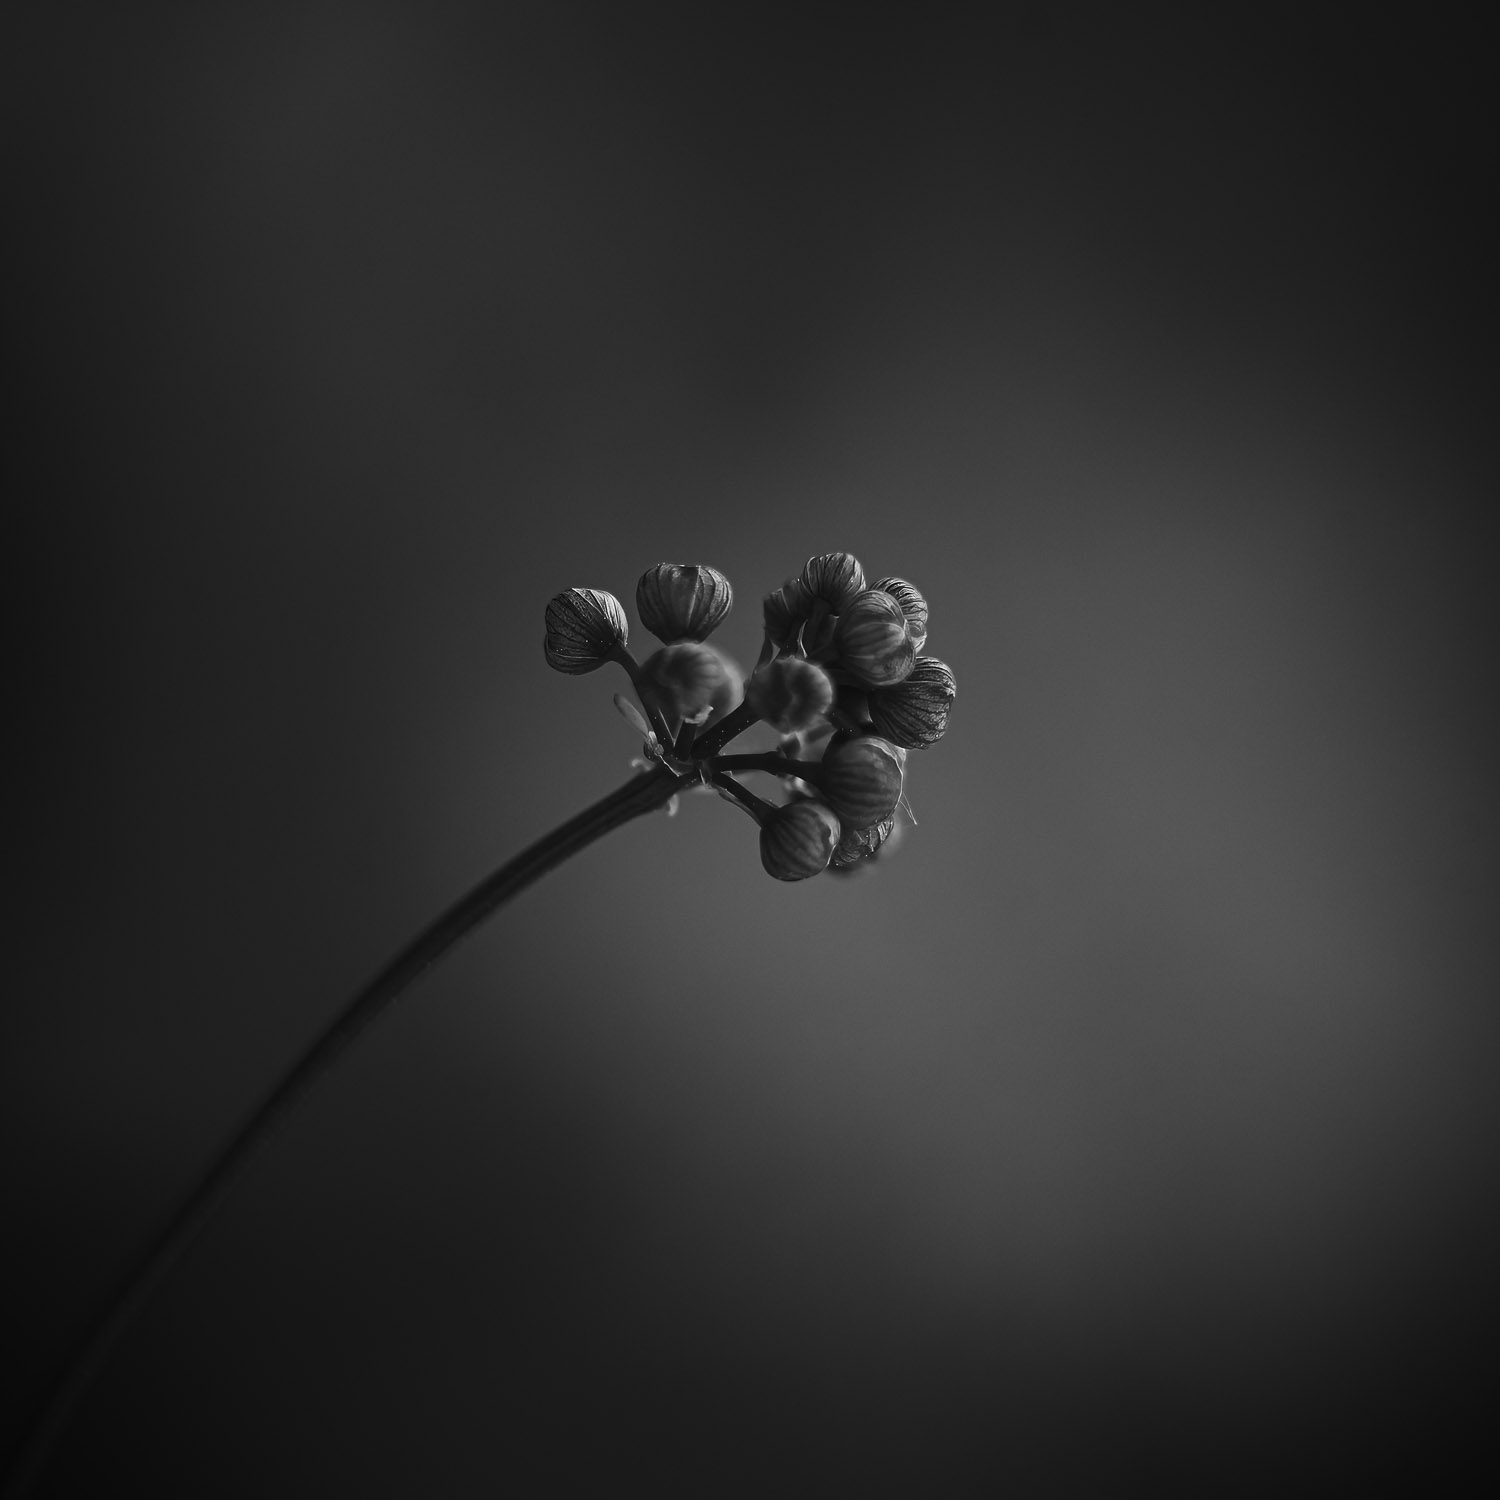
The below two images were shot at well above ISO 2000.
“The meter at Zero is perfect exposure”
- What this advice means: “Make the little exposure line sit in the middle and you’re done.”
- Where it comes from: Beginner lessons often present the meter as the camera’s ‘correct exposure’ indicator.
- What’s right about it: In balanced light, it’s a safe starting point and can be perfectly fine.
- How to deal with it now: Use it as a baseline, then adjust for your intention. Your camera can’t know if you want bright and airy, moody, or highlight-safe.
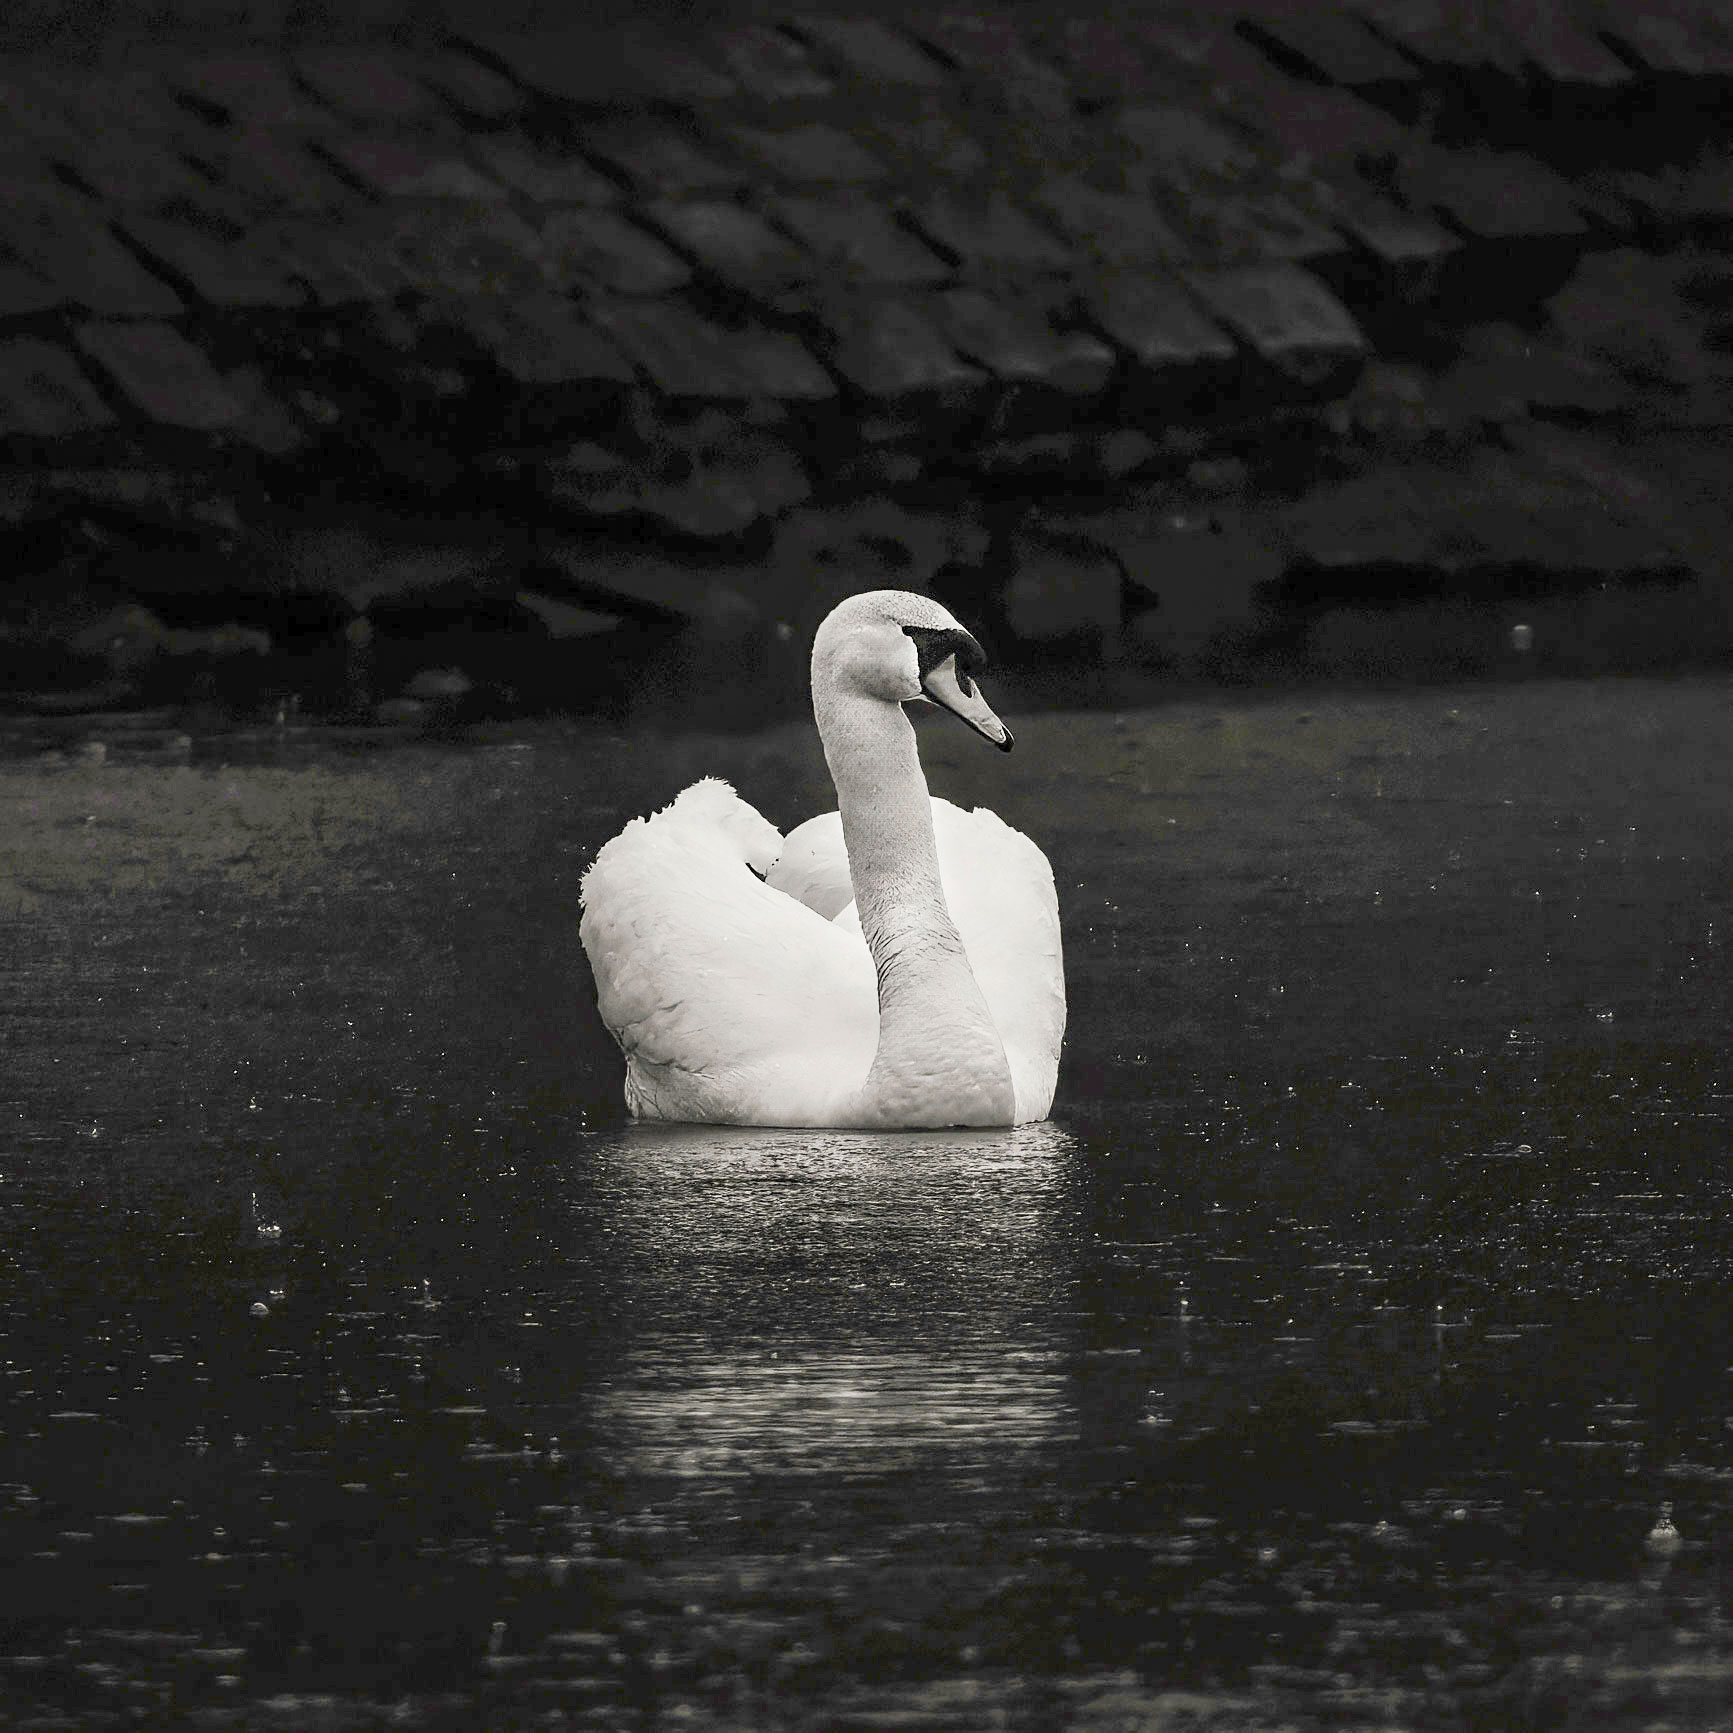
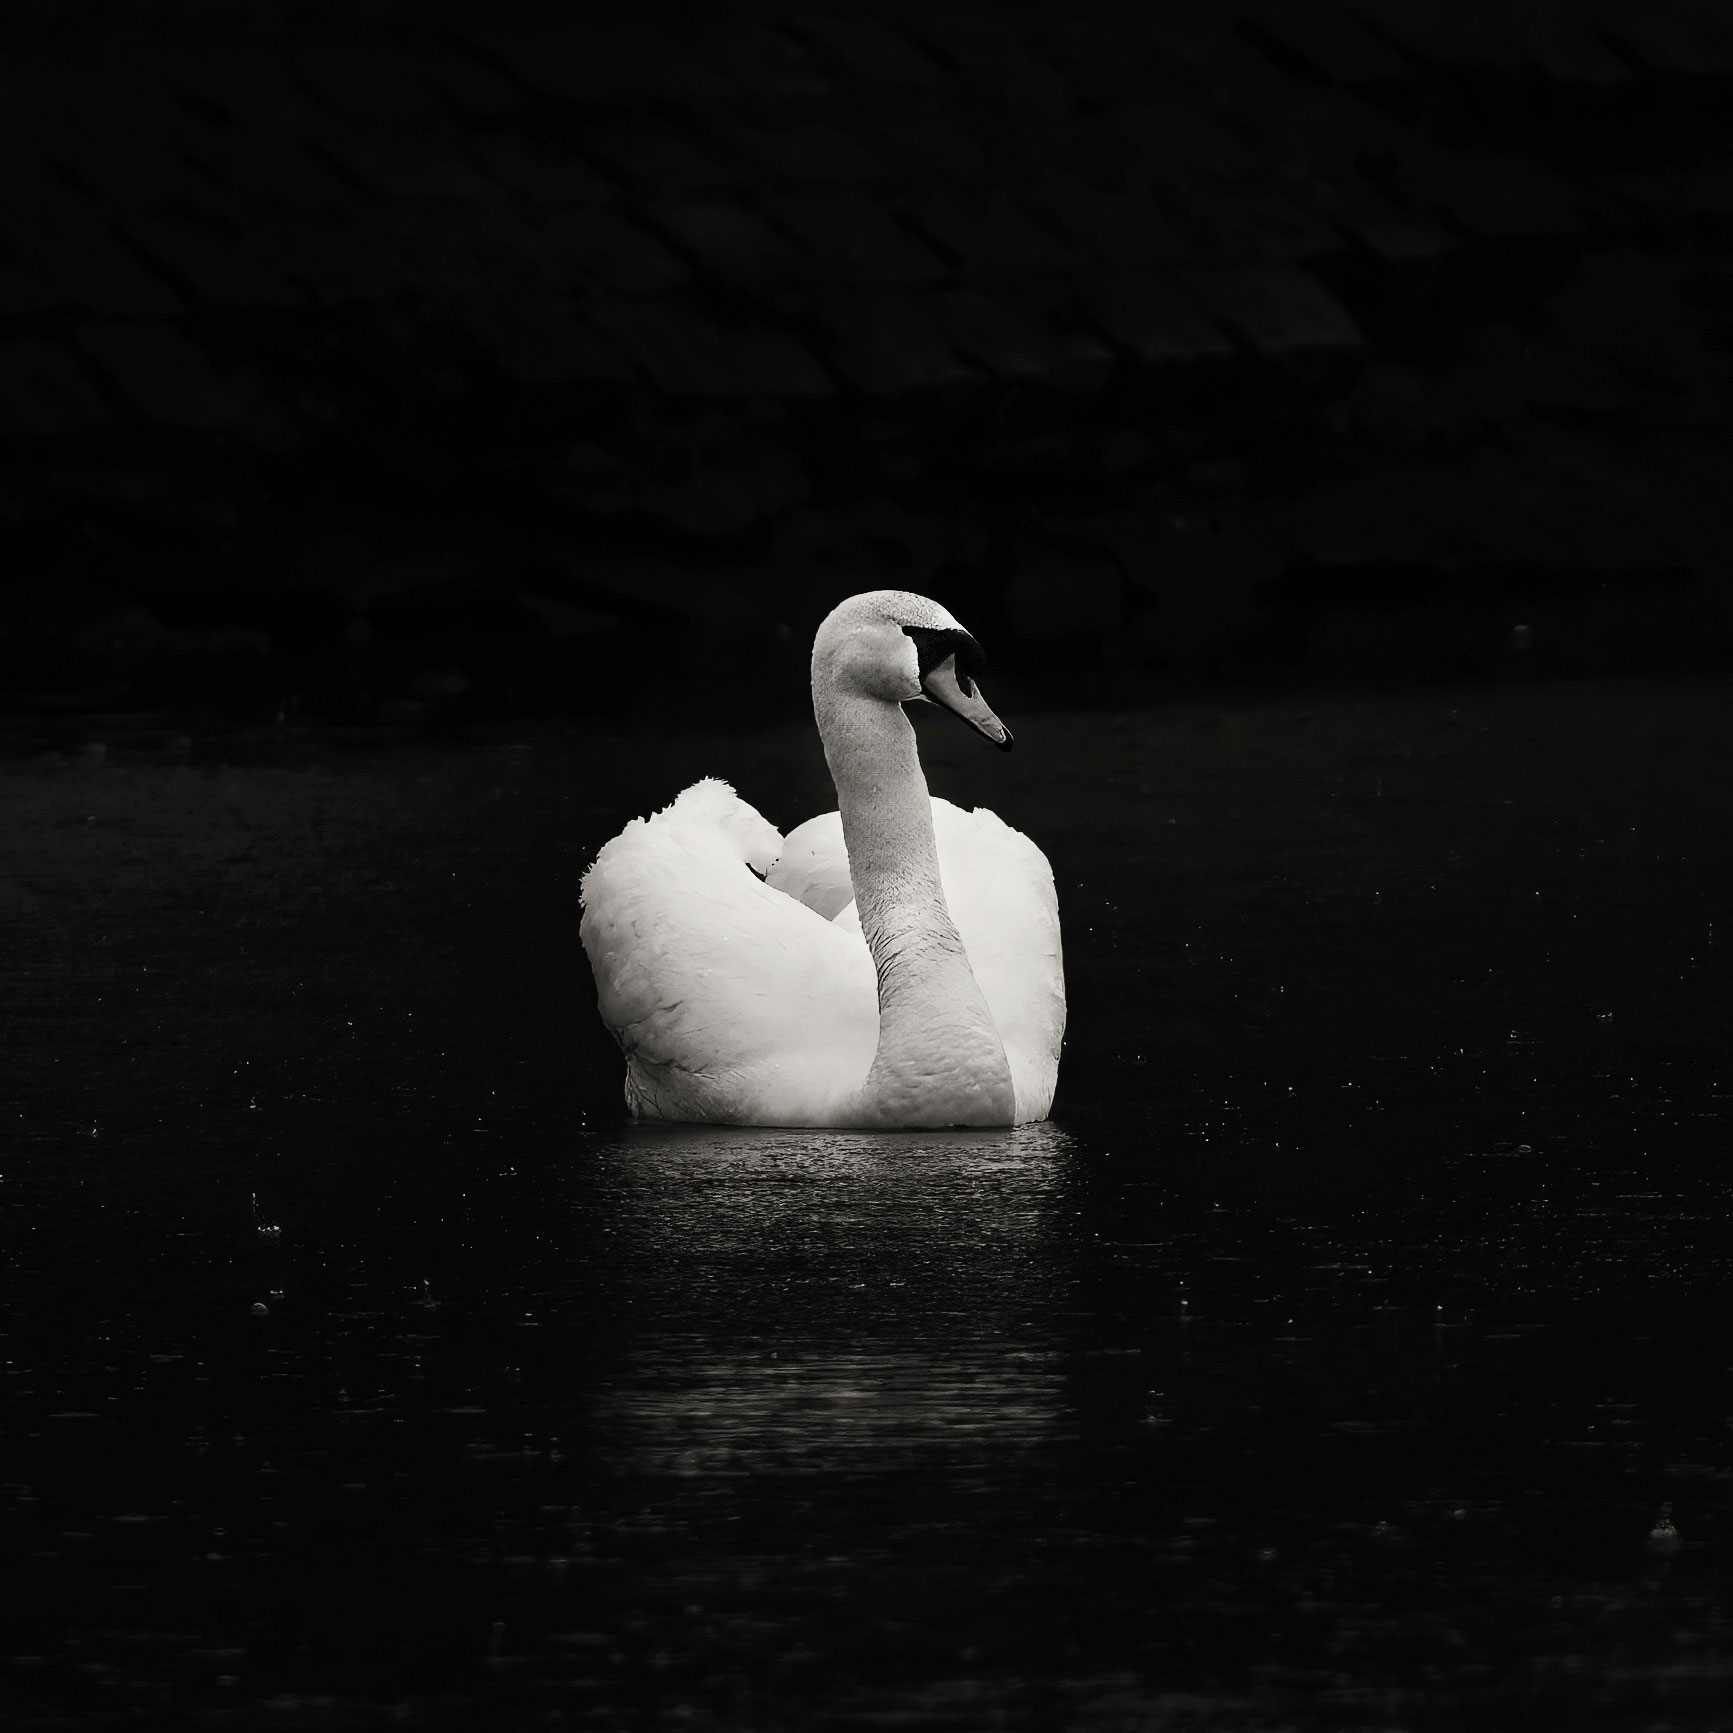
This is such a vague “rule” and you will notice that it won’t help you much taking cool images. If you had the settings at 0 in programme mode and you’re taking photos with a stark contrast difference, the image would simply be boring.
If you look at the same image below – one with the setting at 0 and one underexposed and edited. The second image is much punchier and the background doesn’t distract from the beautiful swan.
“It’s better to overexpose your photos” (or “shoot to the right”)
- What this advice means: “Make your photo brighter than normal.”
- Where it comes from: Film often tolerated overexposure, and early digital sensors were cleaner when exposed bright rather than having shadows lifted later.
- What’s right about it: Slightly brighter exposure can reduce shadow noise if highlights stay intact. With older camera, brightening later in photoshop could produce ugly image highlights.
- How to deal with it now: Overexpose only until highlights are still safe. Watch skies and skin tones. If they clip to pure white, you’ve gone too far.
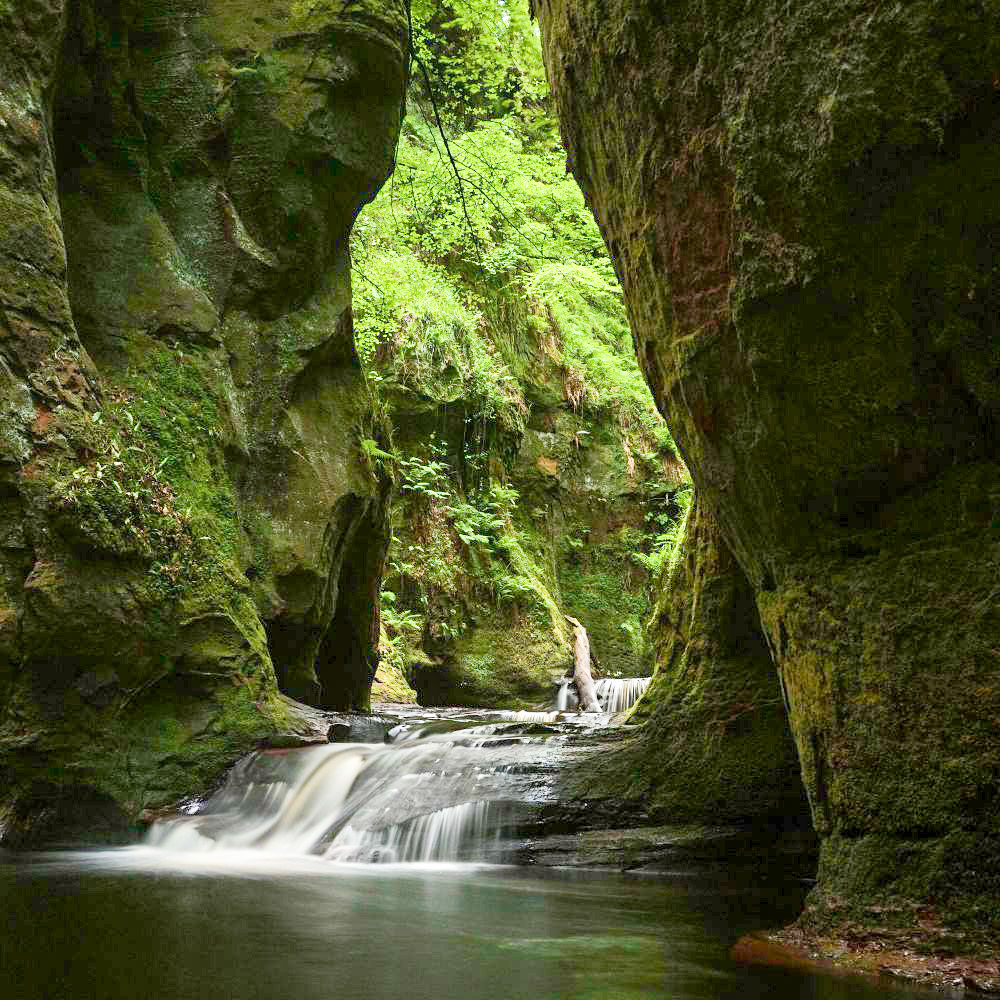
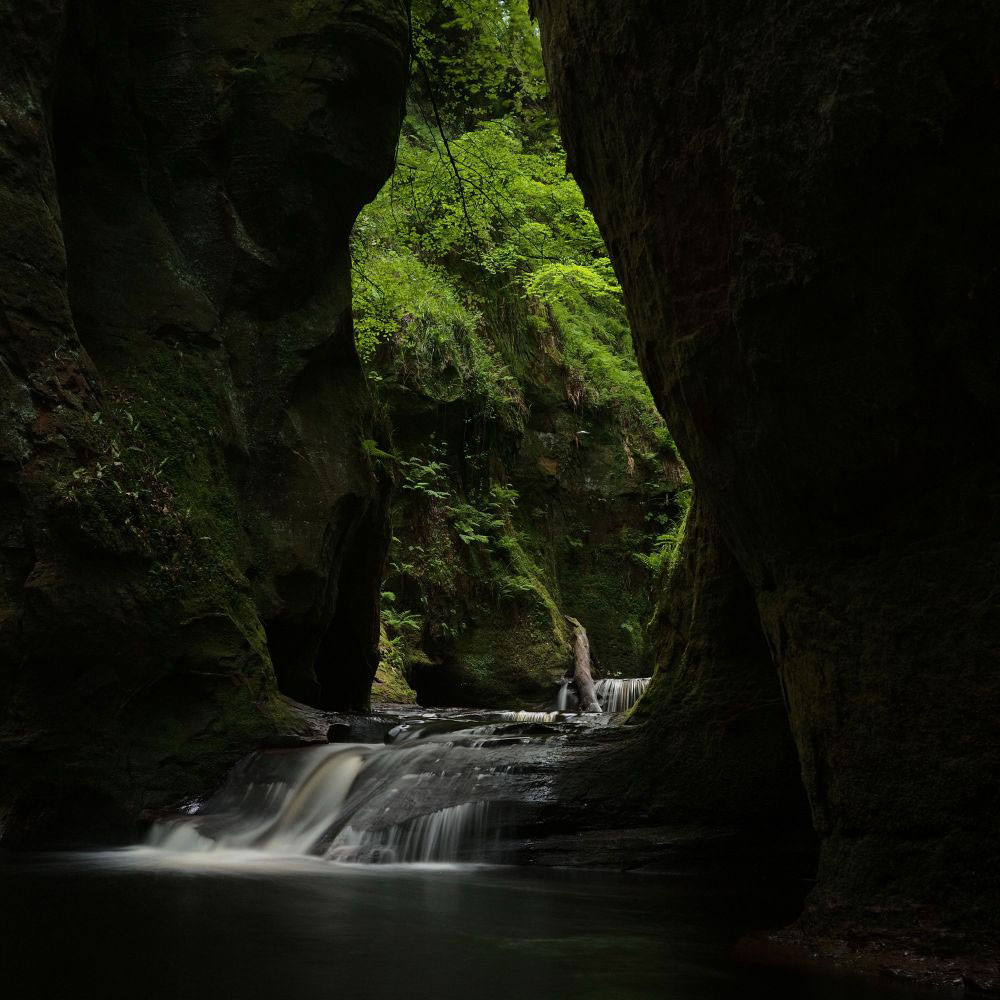
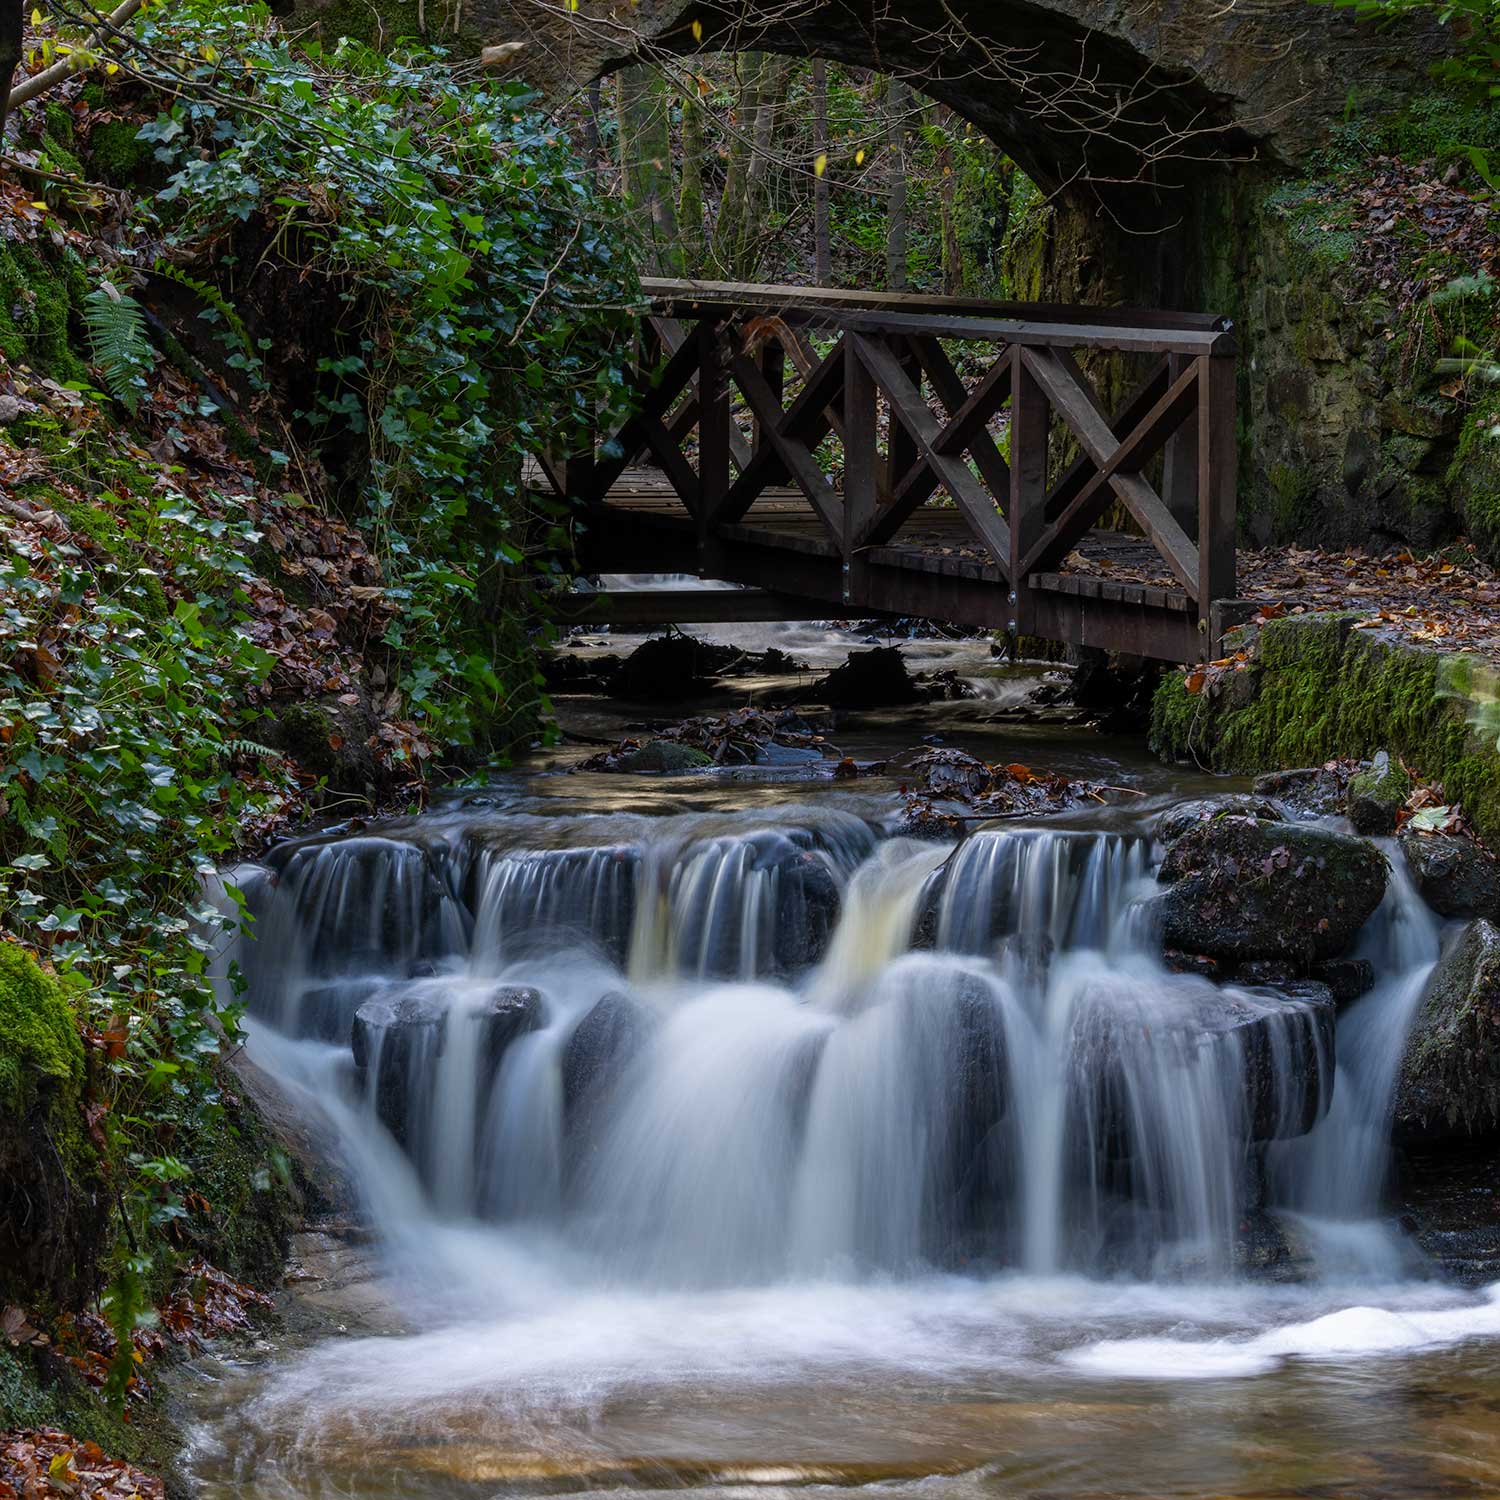
If you look at the first “overexposed” image, there’s no drama in it. However, with a much darker framing of the gorge the image is much more interesting.
Use overexposure intentionally but not as a rule of thumb.
“Don’t worry about white balance, just use auto”
- What this advice means: “Leave the camera to decide the colour temperature.”
- Where it comes from: Auto white balance improved a lot, and teachers often say this to stop beginners feeling overwhelmed.
- What’s right about it: Auto white balance is accurate in daylight and simple lighting. If you shoot RAW, you can change WB later without damage.
- How to deal with it now: Auto is fine in easy light. In mixed light (indoor tungsten + window, stage lights, gyms), set WB manually or pick a Kelvin value to keep colour consistent.
I was shooting auto white balance for years as a professional but then I learnt how to use it properly and it saved me hours of editing time.
I worked as a wedding photographer and the light surroundings would change frequently. I’d shoot the cake lit with artificial light, then I’d go outside, take photos of the guests, then I’d go back inside and take photos of the decorations, and then it’s back outside for photos of the couple and earlier that day I might shoot a candle-lit service in a church. All of these have a different light temperature.
Without changing the white balance, my image colouring would be super messy, some appearing yellow, some green, some blue.
Once I set the white balance to my surroundings, my images were much more cohesive as a set and editing became much easier.
2. Focus and shooting mode Advice
“Only shoot manual exposure and manual focus”
- What this advice means: “Don’t let the camera help you. Set everything yourself and focus by hand.”
- Where it comes from: Purist culture and older autofocus systems that were slow or inaccurate.
- What’s right about it: Learning manual teaches you exposure skills. Older autofocus functionality used to hunt badly, so manual focus was sometimes more reliable.
- How to deal with it now: Manual is a tool, not a badge. Use autofocus and auto-assists when they help you get the shot faster and more accurately, especially for movement.
Shooting manually is beautiful, I have to admit that. For a while, I had a Leica M9 with a 50 mm lens. Leica M cameras are only available in pure manual focus – manual everything. I would slow down when taking photos, deeply exploring the subject. However, this type of taking photos has its place and is not useful for ALL types of photography.

I doubt there are many sports or celebrity togs (tog=phoTOGrapher) out there shooting manual. It would take them much longer to get the shot and they’d miss the image.
Also, after almost 20 years shooting weddings, I’d use manual focus for only a handful of shots, when the camera got confused due to low contrast.
I now have quite a few pure manual focus vintage lenses. I HAVE to use manual focus, but it allows me to pick the exact area I want to be in focus.
Manual exposure on the other hand is great and I use that for most of my work now, that is: for anything that doesn’t move.
As soon as I take photos of people of wildlife, I allow my camera to “give me a hand”.
When you’re starting out, even using Aperture mode and let the camera do the rest will set your images apart from pure auto mode
“Never use auto mode / auto ISO”
- What this advice means: “Don’t use the Auto setting and don’t let the camera choose ISO.”
- Where it comes from: Older cameras made poor choices in auto mode, so people learned to distrust it.
- What’s right about it: Auto settings without limits can absolutely blow exposure or push ISO too high.
- How to deal with it now: Auto becomes smart when you set boundaries: max ISO, minimum shutter speed, and exposure compensation. Then it’s a helper, not a gamble.
First of all, you can think of your ISO button like a dimmer switch.
- Higher ISO number = brighter image
- Lower number = darker image.
However….
A higher ISO number:
- increases the risk for “noisy” (i.e. grainy) images
- you get a faster shutter speed
- allows you to shoot without flash.
- Higher ISO on entry-level cameras might produce very grainy images (this can be arty though!!)
Lowering your ISO:
- higher risk for camera shake in darker situations if your shutter speed is too low and you don’t have a tripod at hand or something to rest your camera on
- If your surroundings are too bright (think holiday in sunnier climates), lowering your ISO can adjust for this (think dimmer switch!)
- Lower ISO is mostly recommended for landscape photography if you want everything to be super clear and in focus.
Photography is like three dimensional chess sometimes. Changing one number has an impact on 14 other things 🤣
I must admit, I was in that camp until only recently! ISO is something I tried to understand early on in my photography career. I used the ISO button constantly when shooting weddings or commercial jobs.
However, nowadays I am found standing in front of bird feeders in the woods waiting for that elusive bird to appear.
I often try to capture birds in flight which requires a high shutter speed (1/1000s or less).
I took part in a wildlife photography workshop and the first thing the coach told me is to use Auto ISO. I was so thrown as this was a rule I lived by, i.e. I never used Auto ISO. But I thought I’d try it out and my bird pictures have improved HUGELY.
I have set my camera up to shoot on auto ISO BECAUSE I have another setting to choose a shutter speed of at least 1/1000s. The camera now picks the ISO that allows me to shoot at 1/1000s.
I use the ISO dial (the round dial on the back of my camera – I have set this up to be the ISO setting) as my dimmer switch to make the images brighter or darker while the camera maintains at least 1/1000s shutter speed.
3. Composition “rules” treated like laws
“Breaking the rule of thirds makes your photo bad”
- What this advice means: “Always place your subject on a grid line, not in the middle.”
- Where it comes from: It’s an easy teaching rule that quickly improves beginner framing.
- What’s right about it: The rule of thirds is a useful option for balance and visual interest.
- How to deal with it now: Learn it, then expand beyond it. A photo can be centred, skewed, or rule-breaking and still be great if it feels intentional.
In order to become a great author, you need to know spelling, grammar and sentence structure.
In order to become a great photographer, you should know the rules. However, you don’t have to obey them to produce amazing images, but it’s good to know them.
Quite often, an image just seems to “work” or “sing” when you apply the rule. If it’s slightly off, the whole photo might feel off.
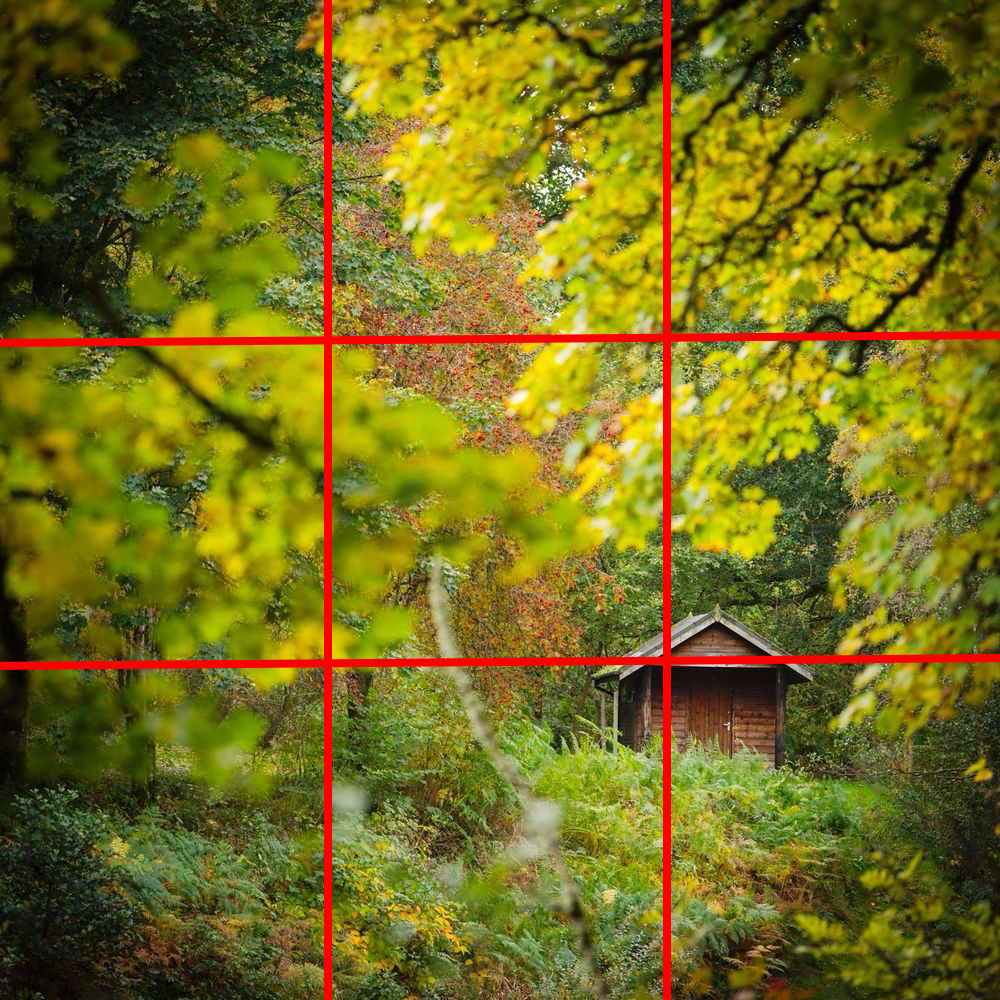
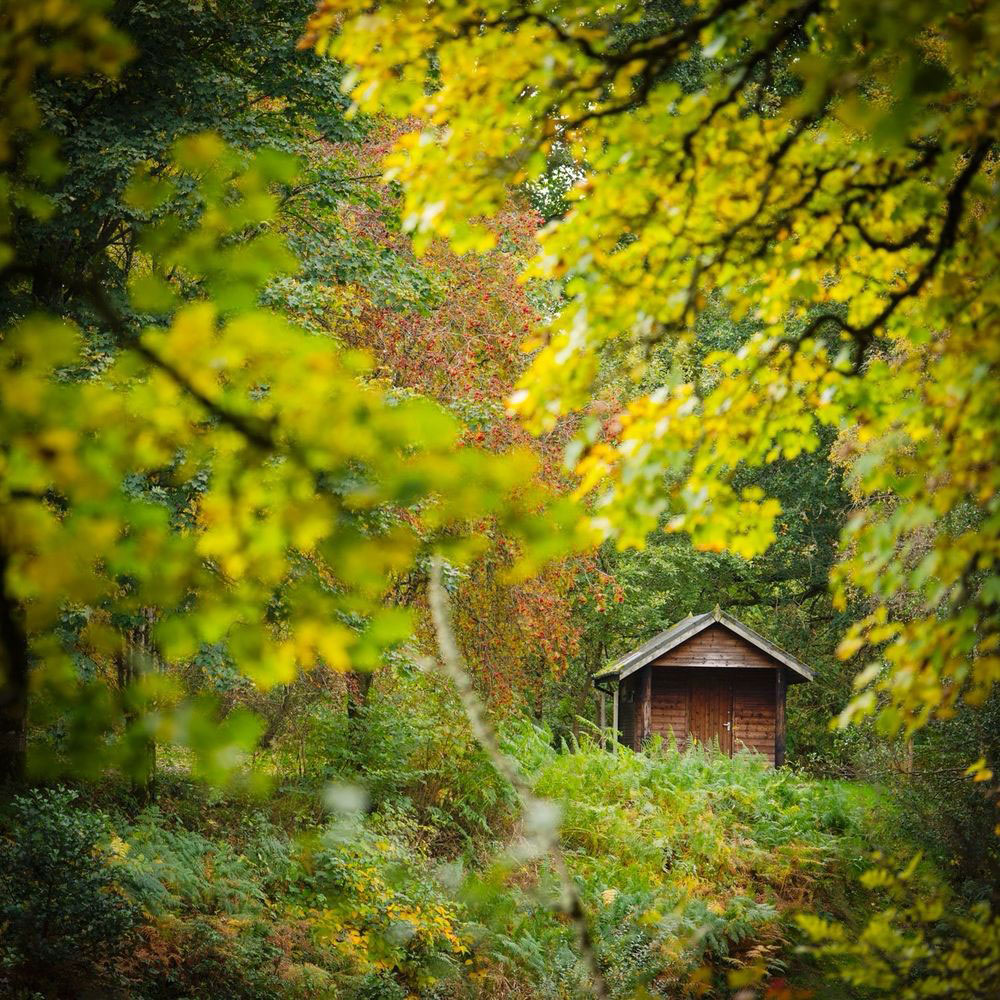
Below are some examples of the rule of thirds. Basically, the main “subject” of your image should be where the lines cross each other, i.e. top left, top right, bottom left or bottom right.
Or you put the sky line at the top horizontal line or the bottom horizontal line.
Regardless if your image is in portrait, landscape, square or panoramic format – put these imaginary lines on it (you can switch these on on most mobile phones and cameras these days and even older cameras have them displayed at all times), and start to compose your image.
“Put the subject in the middle”
- What this advice means: “Center everything every time.”
- Where it comes from: Phone habits and snapshot culture.
- What’s right about it: Centred framing can be powerful for symmetry and strong portraits.
- How to deal with it now: Use centering when it serves the feeling. Use off-centre framing when you want movement, tension, or story.
Once you know the rules (especially the rule of thirds), you will see that a lot of images were taken with that rule in mind and the photo somehow “works”.
But that doesn’t mean you cannot centre things and make a great photograph.
“Zoom with your feet”
- What this advice means: “Walk closer or farther instead of using your zoom ring.”
- Where it comes from: Teachers want beginners to explore angles and not rely on lazy zooming.
- What’s right about it: Moving your body often improves perspective and background relationships.
- How to deal with it now: Remember that feet and zoom do different jobs. Moving changes perspective; zooming changes framing. Use whichever matches your goal.
Try that stupid “rule” when taking photos of wildlife. They will fly away!
I have to zoom with my feet with most of my vintage prime lenses. It’s great fun and I use them to create certain effects such as a vintage / 80s look.
There are so many different zoom lenses and if you’re starting out, your camera may have a standard zoom lens, such as a 24-70 mm.
If you’re interested in bird photography, you will soon outgrow a 70mm zoom and want longer and brighter glass and your eyes start to water when you see the price tag!
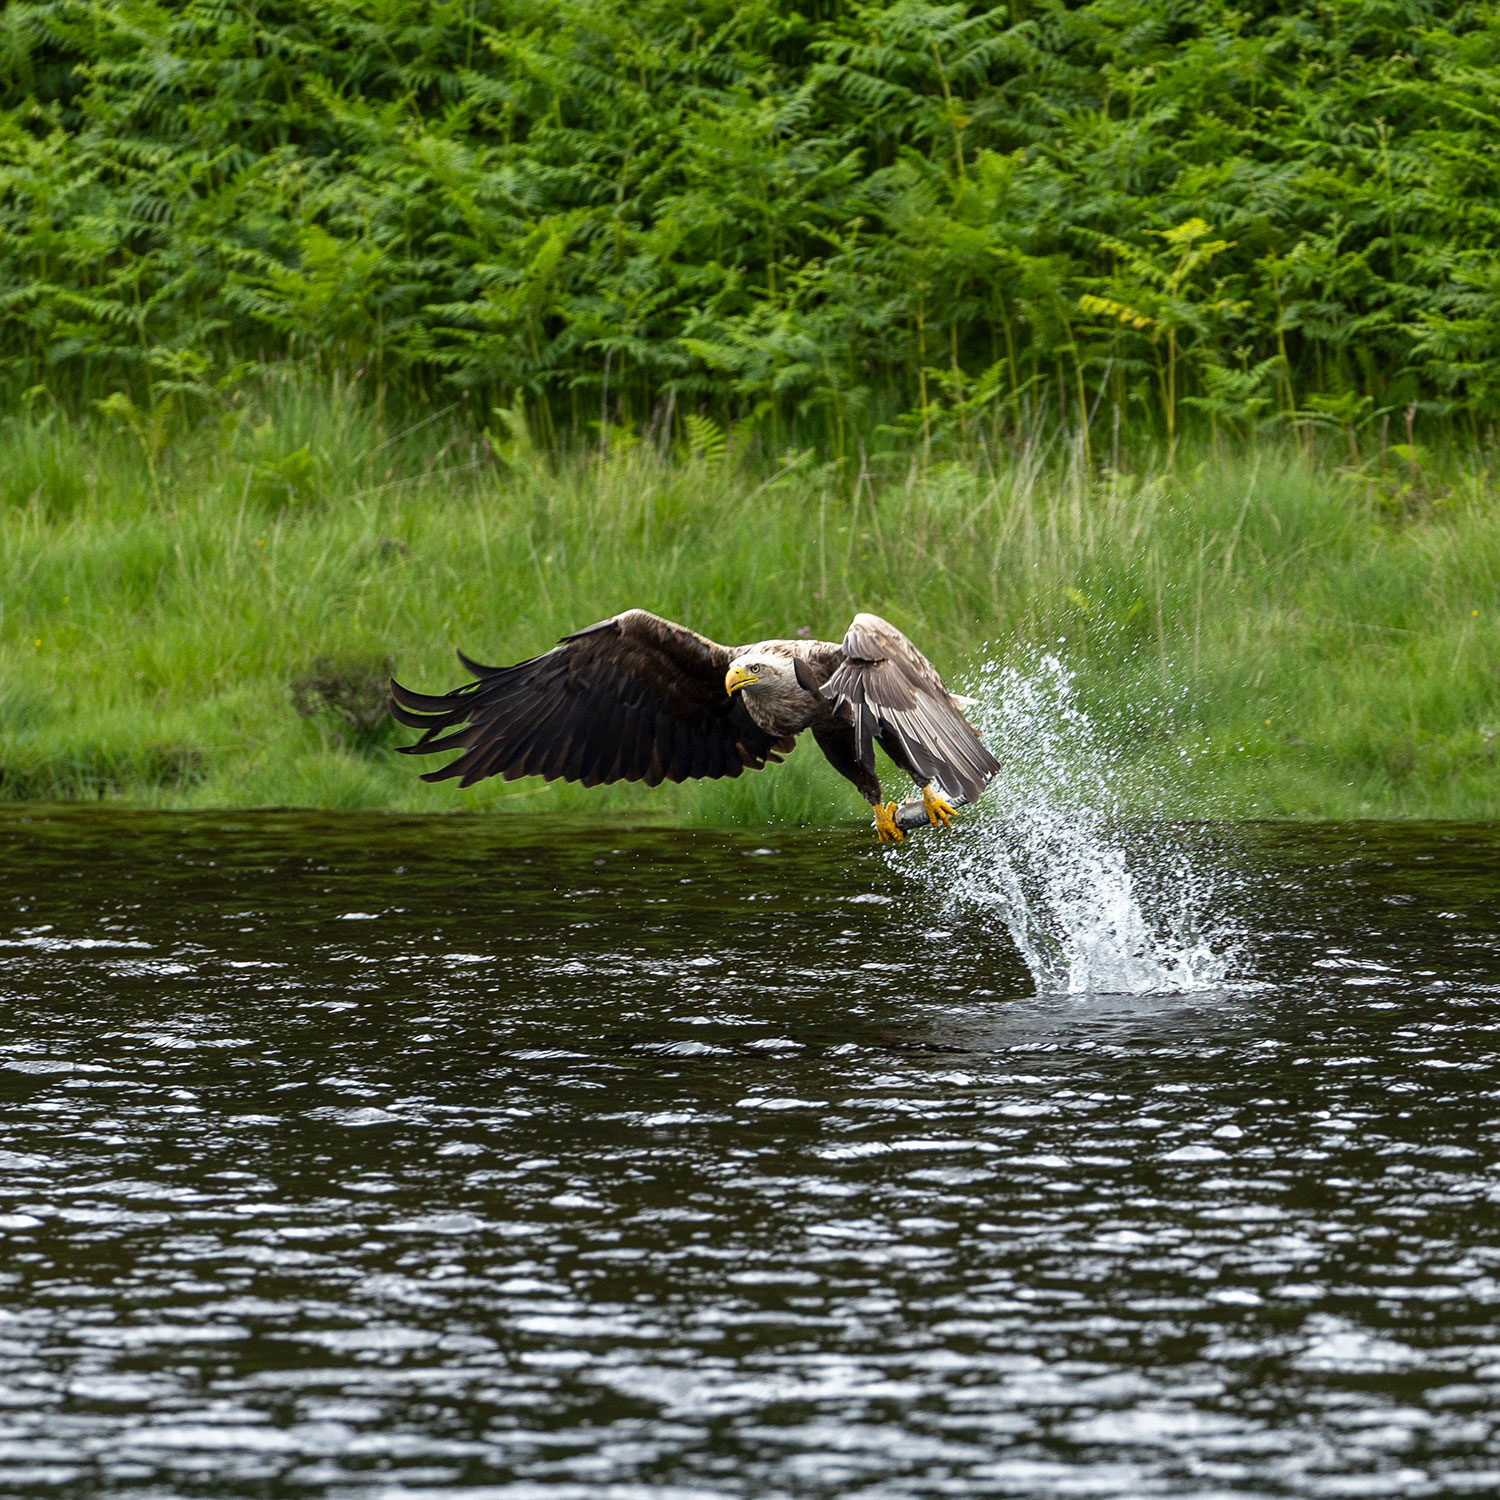
In summer 2025, we took part in a wildlife trip to see some white tailed eagles in Scotland. There were 8 photographers on the boat and we were the ones that looked like amateurs using 100-400 mm and 70-200 mm lenses (the latter with a 1.4 extender). All other participants had huge lenses, most of them costing upwards of £5000.
Especially when it comes to wildlife, you cannot zoom with your feet. Also, during wedding photography, a zoom was crucial as you don’t want to be in everyone’s face when taking photos. A zoom also allows you disappear into the background while still taking photos of the main event.
A good zoom can also change the perspective of an image – pulling everything close together – which can look absolutely awesome.
4. Depth of field and light myths
“Always shoot wide open for creamy backgrounds”
- What this advice means: “Use the lowest f-number so the background goes blurry.”
- Where it comes from: Social media trends that equate blur with professional quality.
- What’s right about it: Wide apertures can isolate a subject and help in low light.
- How to deal with it now: Match aperture to the story. Stop down when you need more in focus (faces, groups, context). Blur is a choice, not a requirement.
I must admit, I am a SUCKER for creamy backgrounds! And when I had the Leica M9 with the 50mm 1.4 Summilux lens, I was in LOVE. The images were super creamy and consistently beautiful.
Creamy backgrounds have their time and place though. When I took photos at weddings, I mostly used my 70-200 mm F2.8 lens and 95% of my images were shot in “wide open” – i.e. F2.8. But this was “my” style; not the rule.
Shooting wide open means you have more control over what you focus on and you can blur out the background. However, when I went a bit more documentary style during the day or for the family photos, I’d use a smaller aperture – but never beyond F8.
“Never shoot in harsh sunlight”
- What this advice means: “Avoid midday sun and only shoot in soft light.”
- Where it comes from: Harsh light creates hard shadows and beginners often dislike the results.
- What’s right about it: Harsh sun is harder to control and can be unflattering without technique.
- How to deal with it now: Learn to shape harsh light with shade, backlight, or reflectors—or lean into contrast for drama.
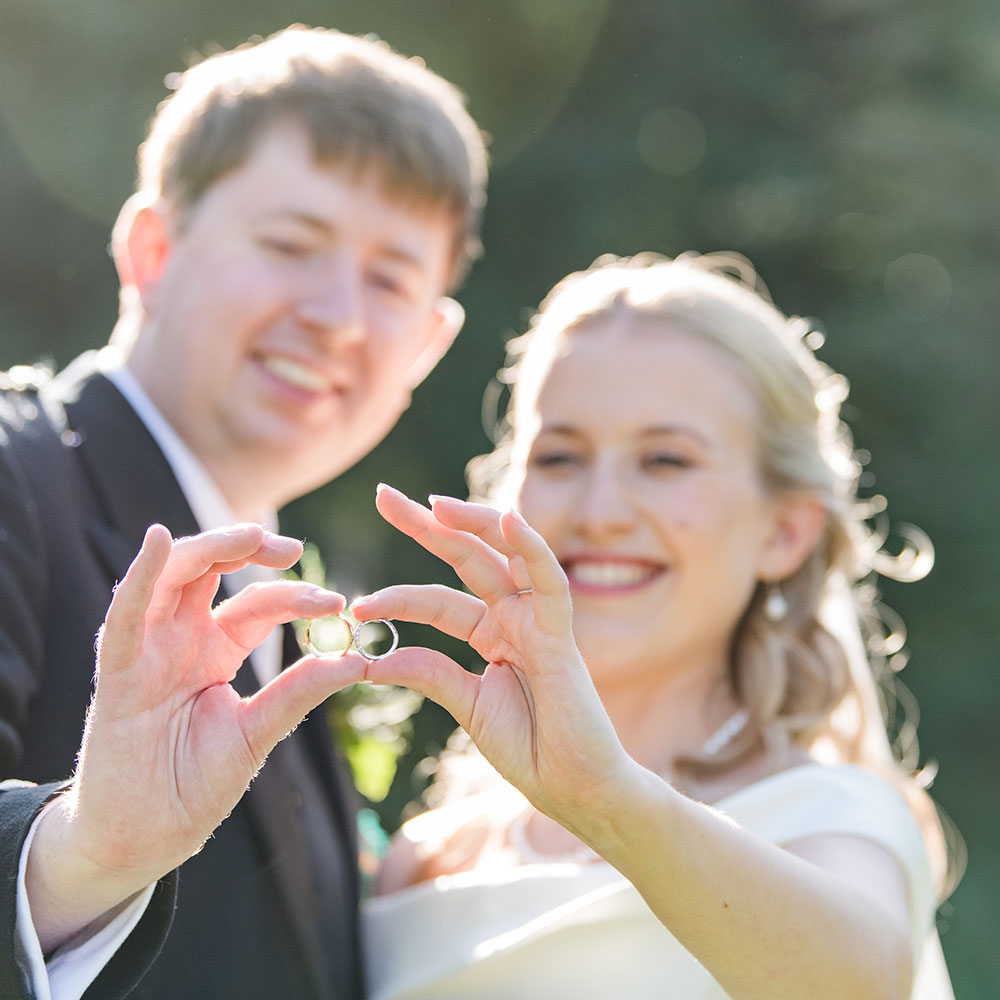
This is a super stupid rule – especially for professionals. We often don’t have a choice and have to make do with what nature provides. Yes, it’s much “easier” to shoot in cloudy conditions – especially for skin tones. However, it’s all about learning how to use the light.
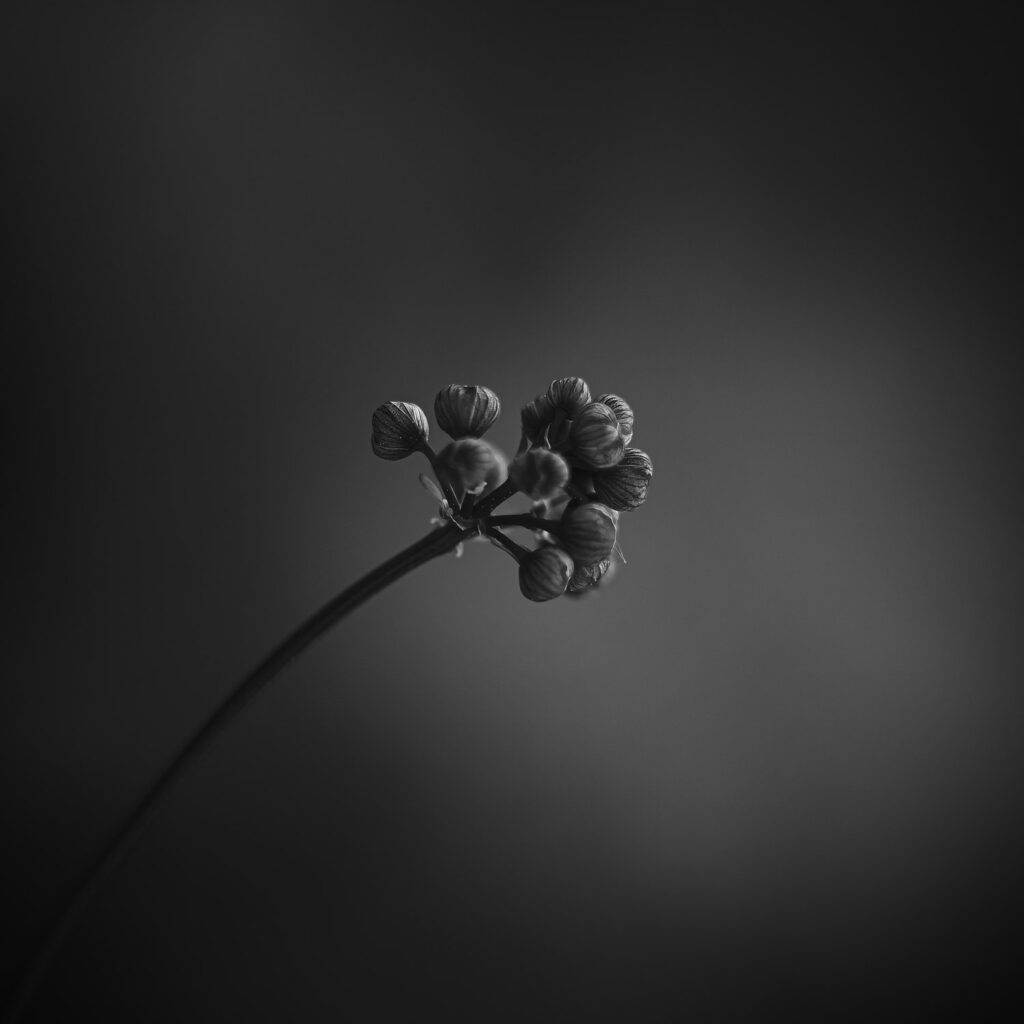
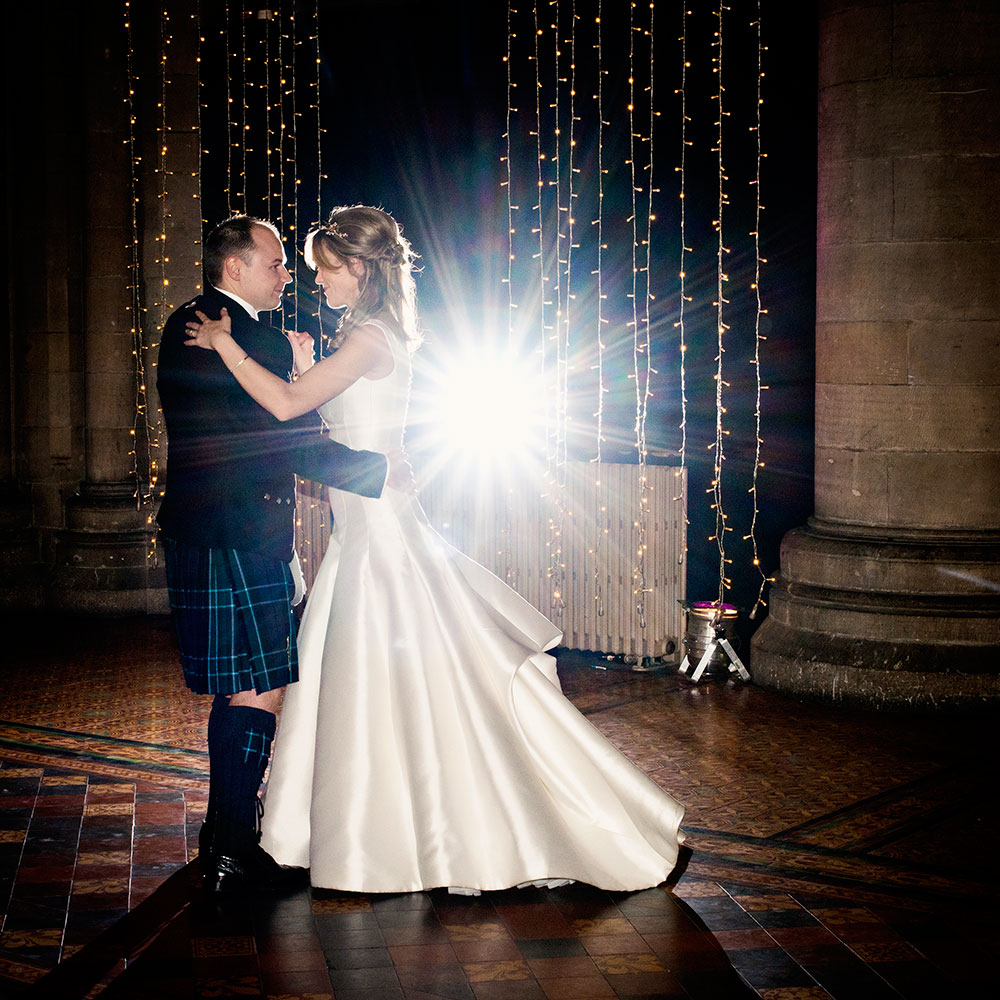
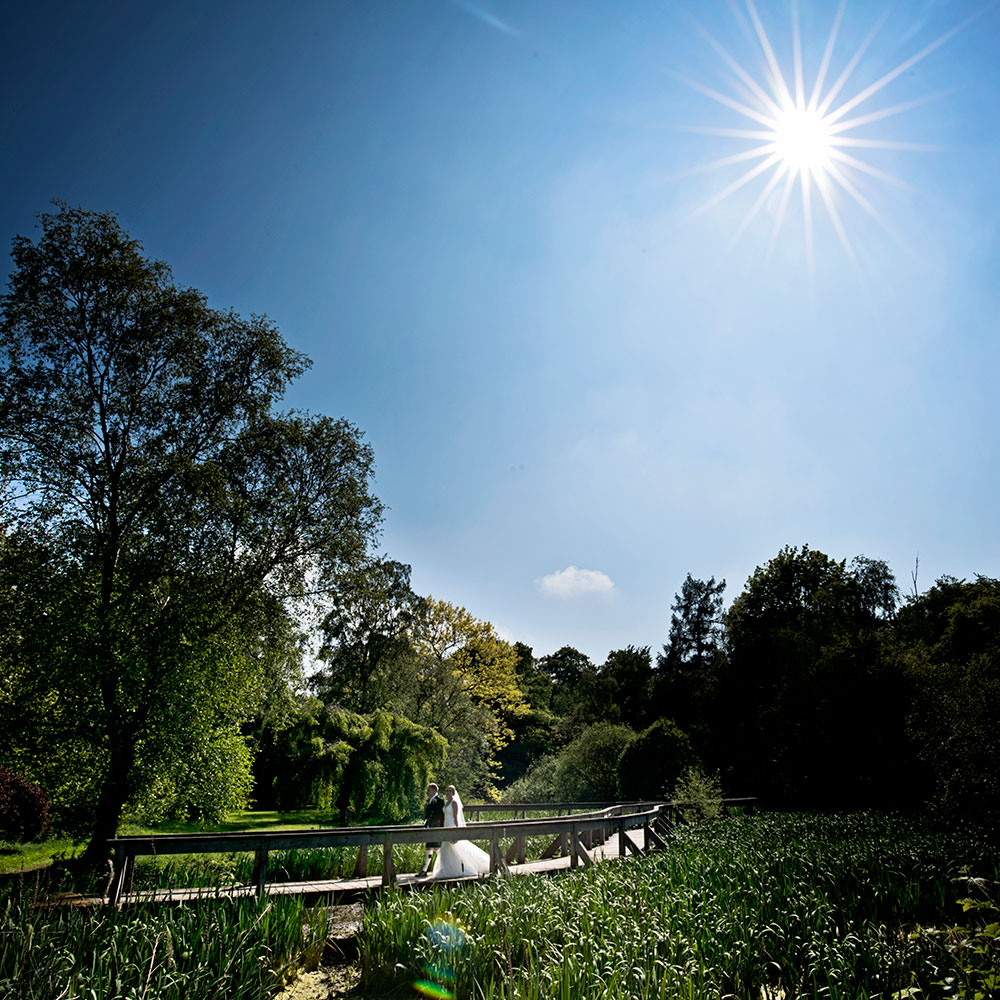
I have shot plenty of weddings in harsh sunlight and you can create a beautiful effect when you shoot into the sun – creating a lovely rim light around the couple (or whatever you’re taking photos of).
- Image 1: We set up a flash gun on the radiator behind the couple. We triggered it through the camera to achieve this star effect.
- Image 2: Bright sun light wedding photos. Using the sun as a feature.
- Image 3: Shooting directly into the light creates this lovely rim light effect behind the couple and keeps face skin tones smooth and without harsh shadows.
“Natural light fixes everything / don’t use flash yet”
- What this advice means: “Only use available light. Leave strobes at home.”
- Where it comes from: A well-meant attempt to stop beginners relying on gear instead of learning.
- What’s right about it: Understanding natural light first can make flash easier later.
- How to deal with it now: Natural light is not automatically good. Flash is simply another way to control direction and softness. Start simple and learn both.
Ah… the natural light brigade…! I AM a natural light photographer too, but I know how to use flash. I just prefer not to. However, some situations just require additional light or to create a desired effect.
The reason why I am not a flash fan is because it slows me down. I have use flash a lot during the evening reception at weddings, but nowadays, my flash gun is gathering dust.
You can create some stunning work with using flash, and it’s definitely not a rule that you shouldn’t use flash. Use what feels comfortable to you and what would enhance your image.
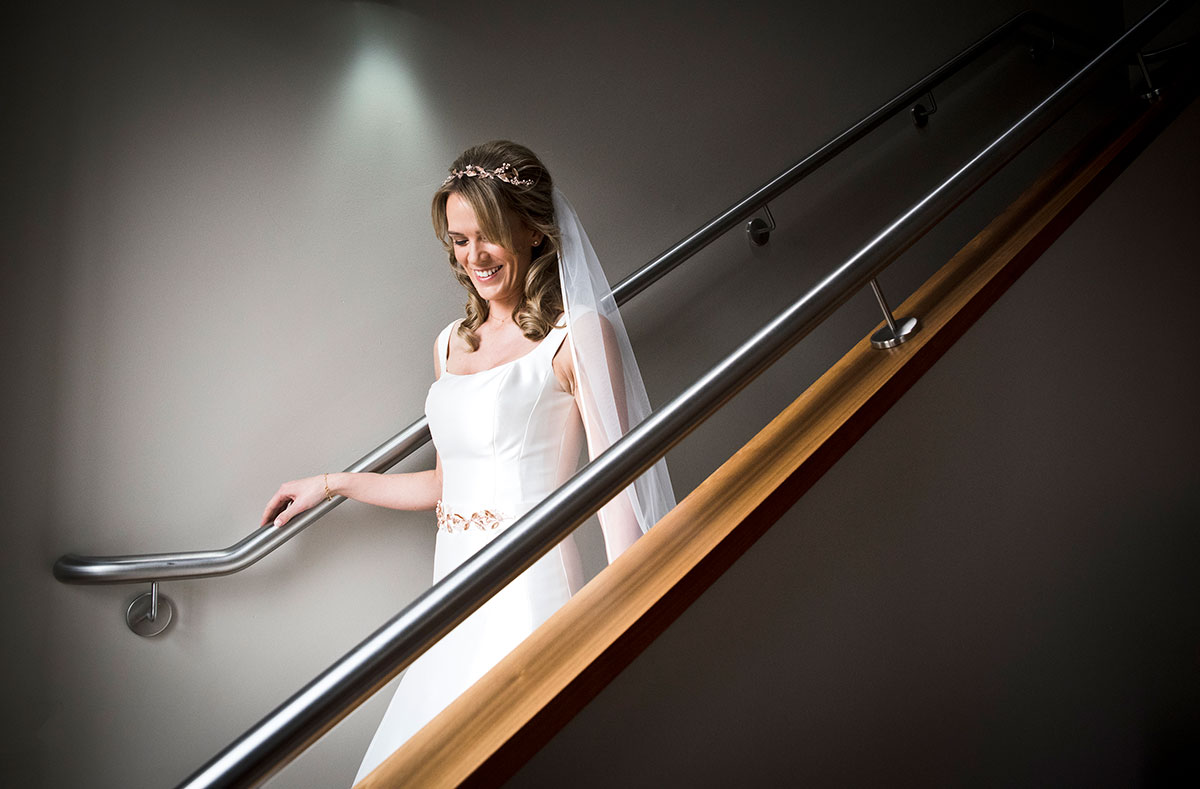
The below image is using daylight coming through the window opposite the stairs. Had I used flash, I would have lit up the stars behind the bride and the image wouldn’ve been “flat”.
5. Editing and workflow nonsense
“Fix it in post”
- What this advice means: “Don’t worry if it’s wrong now, you can repair it later on the computer.”
- Where it comes from: Digital editing really can rescue some technical mistakes.
- What’s right about it: You can correct exposure, colour, and small distractions, and crop gently to refine framing.
- How to deal with it now: Shoot the strongest version you can in-camera. Editing should enhance, not rebuild an avoidable mess.
There are certain things that I don’t worry about when taking photos as I know I can easily fix that in post (post = short for post production), i.e. after downloading the image and making changes to it in Photoshop or your chosen editing software.
I often fix things such as removing items (people that “spoil” my landscape composition, distracting twigs in my bird images etc.).
“Buy my presets to find your style”
- What this advice means: “Pay for filters and your photos will look professional.”
- Where it comes from: Influencer marketing and beginner insecurity.
- What’s right about it: Presets can speed up editing and offer inspiration.
- How to deal with it now: Use presets as references, but learn basic editing tools. Style comes from your taste and repetition, not a download.
When you’re experimenting with different editing styles, presets are a wonderful thing.
I have been playing around with them for decades. Some presets are wonderful, some are awful. You just have to try them out.
My own personal style is bright and vibrant, but I sometimes use a preset to create a certain effect.
So don’t buy presets to find your style, as you’re only applying someone else’s style. But by all means – experiment 🙂
“Only shoot JPEG / RAW is useless”
- What this advice means: “Don’t use RAW files. JPEG is enough.”
- Where it comes from: RAW editing can feel intimidating, and some cameras produce great JPEGs.
- What’s right about it: JPEG is fast and fine in easy light when your look is locked.
- How to deal with it now: Shoot RAW when you want maximum flexibility and safety, especially in tricky light. JPEG is fine for speed and casual work.
This is a truly stupid bit of advice!
If you’re a complete hobbyist and you walk around with a little point-and-shoot camera and you don’t do any editing, by all means – shoot in JPG.
But if you want any control over your images after you have taken them – shoot in RAW. There are so many things you can amend to enhance your images. Especially when shooting professionally, you want all images to have a similar look. You “can” achieve this with JPG images, but it would require more editing and every time you save a JPG, you’re losing more image quality.
“Files lose quality every time you transfer them”
- What this advice means: “Copying photos to another device makes them worse.”
- Where it comes from: Confusion with analog copying and compression myths.
- What’s right about it: Nothing. Digital copies are identical.
- How to deal with it now: Ignore it. Quality loss only happens when you export smaller or more compressed versions repeatedly.
Utter bollocks!
6. Gear myths and status advice
“Gear doesn’t matter”
- What this advice means: “Your camera choice doesn’t affect your photos.”
- Where it comes from: A reaction against gear obsession and shopping instead of practicing.
- What’s right about it: Great photos come from skill and vision, not just expensive equipment.
- How to deal with it now: Hold both truths: skill matters most, but gear can remove real limitations. Upgrade when your gear is blocking your work.
You can take great holiday photos with an inexpensive compact camera. If that’s what you’re after, gear doesn’t matter.
As soon as you’re into anything specific, such as wildlife photography – gear DOES matter.
You cannot get “close enough” to birds (or lions without getting eaten!) with a compact camera. The inbuilt zoom (regardless of the numbers the marketing team promises) will NOT be enough to produce striking and professional grade images.
With wildlife photography, for example, I want the animal to be large in the image and the background to be blurry. With a “cheap” lens, you can’t get close enough, the lens might not be sharp or bright enough (i.e. when you’re zoomed in, you can only use F8). You could crop in after taking the image, but this will leave you only with an image that can be used online and the detail in the animal usually gets lost.
Sports photography also requires specific gear, so you/your camera can react quickly to what’s happening.
“Full frame is the only pro option”
- What this advice means: “If your sensor isn’t full frame, you can’t be professional.”
- Where it comes from: Marketing pressure and online superiority culture.
- What’s right about it: Full frame offers benefits: cleaner high ISO, wider field of view, shallower depth of field.
- How to deal with it now: Plenty of pros use APS-C, Micro 4/3, or medium format depending on the job. Choose what fits your genre, budget, and workflow.
My husband takes a lot of timelapse videos for our clients. Some of these videos are meant for internal use or for showing them on their website. He uses GoPro cameras to capture these. The GoPro sensor is smaller but the quality is outstanding.
This is just another “blanket” statement. You don’t need a full frame camera, but it has benefits.
“Start with low-end gear to learn properly”
- What this advice means: “Don’t buy good gear until you’ve earned it.”
- Where it comes from: A teaching philosophy that fundamentals matter more than features.
- What’s right about it: You don’t need top gear to learn composition and light.
- How to deal with it now: Don’t start with gear that actively fights you. Learning is hard enough without a camera that can’t autofocus or handle low light.
Buy the gear you can afford. Buy the camera that you love holding (yes, it’s a thing!).
If you’re starting out and you don’t know what road photography will take you, I’d recommend buying second hand. You can get a lot of camera for not very much.
Have a look at this post about how to buy your first camera.
7. Business and career advice that backfires
“Shoot for free to get your name out there”
- What this advice means: “Work unpaid and clients will appear later.”
- Where it comes from: People mixing hobby logic with business reality.
- What’s right about it: Strategic free work can help build portfolio early on.
- How to deal with it now: Only shoot free when you control the project, it fills a specific portfolio gap, and there’s a clear purpose and end point. Otherwise you risk being known as the free photographer.
“Keep prices low then raise them slowly”
- What this advice means: “Start cheap so people hire you, then charge more later.”
- Where it comes from: General small-business folklore.
- What’s right about it: Slightly lower starting prices can reduce friction when you have no track record.
- How to deal with it now: Don’t underprice so much you attract bargain-only clients. Start sustainable and adjust upward with demand.
Most novice professional photographers adapt this method and they wonder why they can’t make a living. Let’s say you want to be a wedding photographer:
| Timeline | What this does |
| Year 1: You take on family & friends’ weddings, you charge £300 to get your name out there. | Anchors you as a “cheap” photographer. You attract bargain clients and build a portfolio that signals low market position. |
| Year 2: Now you have “experience”, you raise your prices to £400 or even £500. | Past enquiries vanish. New leads compare you to your old price and feel the jump is unjustified. Cheap-market clients drop off. |
| Year 3: You now increase your prices by 10% every year: | You’re stuck recovering from an early low anchor, so rises feel constant and defensive instead of confident and value-led. |
- Year 4: +10% → £550
- Year 5: +10% → £605
- Year 6: +10% → £665
- Year 7: +10% → £732
- Year 8: +10% → £805
- Year 9: +10% → £885
- Year 10: +10% → £974
With this “strategy”, even after 10 years you’re still getting < £1,000 per wedding. Assuming, you don’t do anything but weddings, let me show you what this means:
| Year | Price you’re charging | Weddings needed that year to achieve living wage levels |
|---|---|---|
| Year 4 | £550 | 51 |
| Year 5 | £605 | 47 |
| Year 6 | £665.50 | 43 |
| Year 7 | £732.05 | 39 |
| Year 8 | £805.25 | 35 |
| Year 9 | £885.78 | 32 |
| Year 10 | £974.36 | 29 |
Especially when you’re starting out, you need to find your feet with marketing – what works, what doesn’t work. But finding 51 wedding clients who want to book you in the same year is very hard to do.
If you’re starting out with “proper” prices, your schedule looks like this (to achieve real living wage payments).
| Year | Price you’re charging | Weddings needed that year |
|---|---|---|
| Year 1 | £1,500 | 19 |
| Year 2 | £1,800 | 16 |
| Year 3 | £2,000 | 14 |
“You must pick a niche”
- What this advice means: “You’re not allowed to photograph lots of different things.”
- Where it comes from: Marketing advice that helps some people, repeated like a law.
- What’s right about it: A niche makes it easier for clients to understand what you offer.
- How to deal with it now: Niche down if you want clearer marketing. Stay diverse if you love variety. Both paths work when you present your work clearly.
I am a self-proclaimed “everything” photographer. I have taken photos of so many different things and I love trying out new things. One of the things I haven’t taken photos of is dead people.
But when you run a business, a “niche” can be helpful. You then become known as the “baby photographer” or “wedding photographer” etc. It’s a bit “easier” to market one type of photography over several. Also, if you specialise in one you will spend more time on the subject and become a better photographer quicker.
“Quit now, you’ll never make it”
- What this advice means: “Don’t even try to be a photographer.”
- Where it comes from: Burnout, gatekeeping, or projection from unhappy pros.
- What’s right about it: The field is competitive and requires business skills as well as talent.
- How to deal with it now: Ignore the doom. Keep the realism. Improve your craft, learn pricing and client skills, and give yourself time to grow.
I remember family and friends giving me this “look”, like “you fool – how are you going to make money from this!” However, with lots of determination and a business head you can make money from pretty much any type of photography.
When I said to some friends that I only want to shoot luxury weddings in 5 star hotels, they burst out laughing and told me to stay grounded. How dare they! 1. They know sweet FA about photography, let alone the wedding industry, 2. I proofed them wrong (over 300 times!).
ANY business requires determination and learning things that have nothing to do with the thing you’re selling (i.e. photography). You need to learn about marketing, accounts, tax, how to deal with shitty customers, how to write emails, how to sell and so on.
8. “Always/never” advice in general
“You should always…” / “Never…”
- What this advice means: “Do one thing all the time no matter what the situation is.”
- Where it comes from: People want to sound confident, and teaching shortcuts get repeated without context.
- What’s right about it: Simple rules help beginners get started and avoid common mistakes.
- How to deal with it now: Replace absolutes with context. Whenever you hear “always” or “never,” add “in this situation.” Then check if that situation matches your gear, light, subject, and goal.
9. The worst thing you can say to a photographer: “Your camera takes good pictures!”
It sounds like a compliment, but it is actually an insult because it gives the credit to the gear instead of the person.
A camera doesn’t choose the light, spot the moment, calm a nervous couple, compose the frame, or shape the story; the photographer does. Saying the camera did the work is basically saying anyone with the same kit could create the same images, and that erases the years of practice, creative decisions, and people skills that actually make the photos special.
Don’t say it! Replace with: YOU are taking wonderful images.